Making Your Own Interior Panels


 TR6 Home

Custom Panels

Crazy Idea

Templates

Panel Sewing

Door Pocket

Kidney Pads

Installation Tips & Techniques Below

Wheel & B Pillar

Door Caps

TR4 Door Pulls

Darn Handles

Window Seals

BristleFlex

Top Bracket

And In Conclusion


Top Bracket or...........It Will NEVER Fit!

Early on in this write-up I mentioned that the added thickness was causing some 
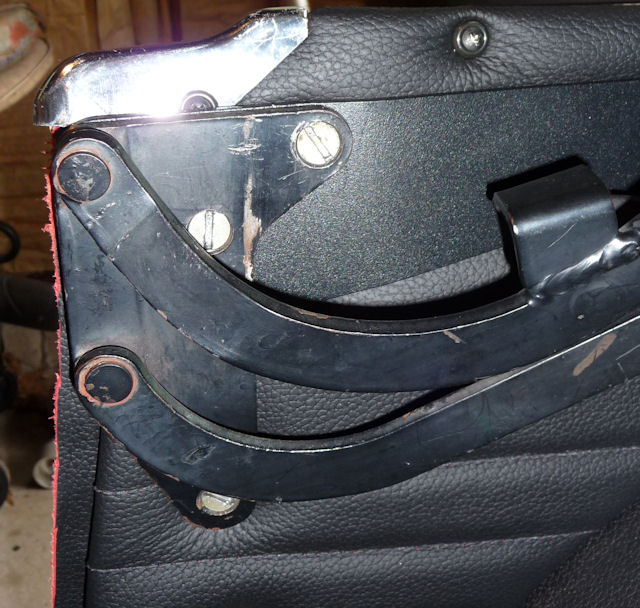
fitting problems. Well it all came to a head when I 
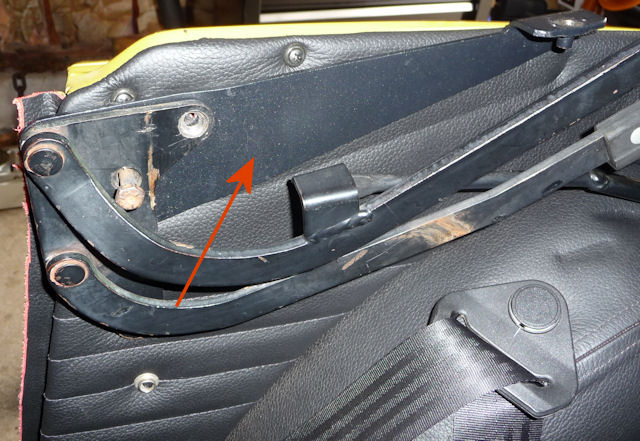
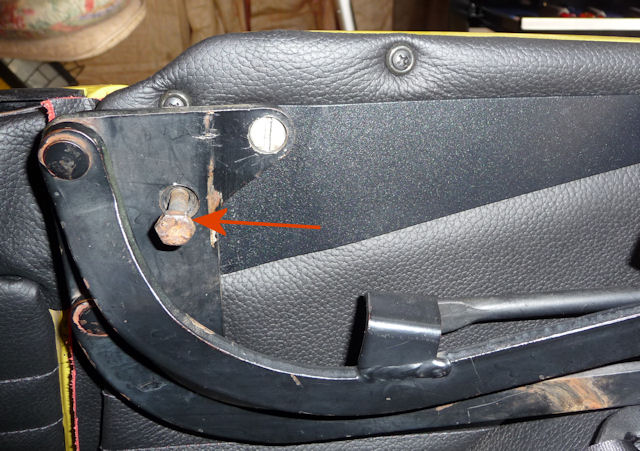
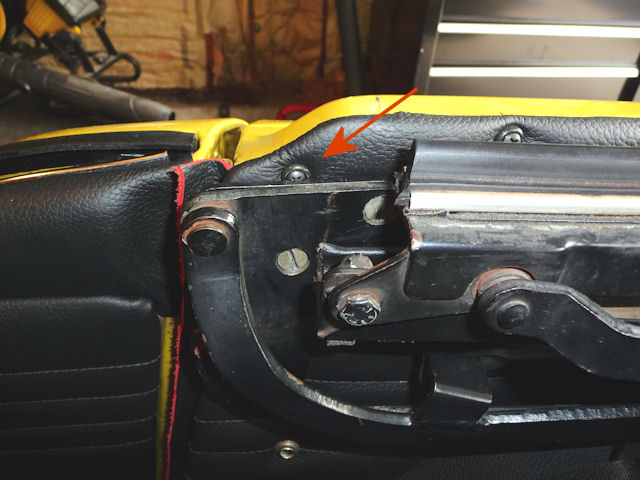
tried to reattach the brackets for the convertible top. Anyone who has done this knows that that it's a PITA trying to catch that floating plate in the "B" pillar with those three short screws. Add 1/4" of foam and it's 
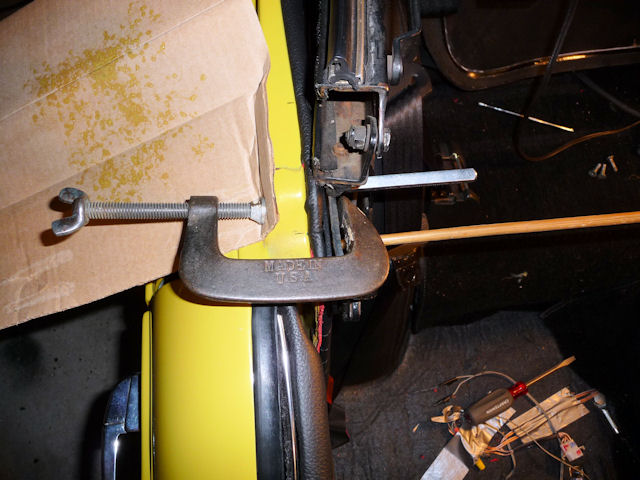
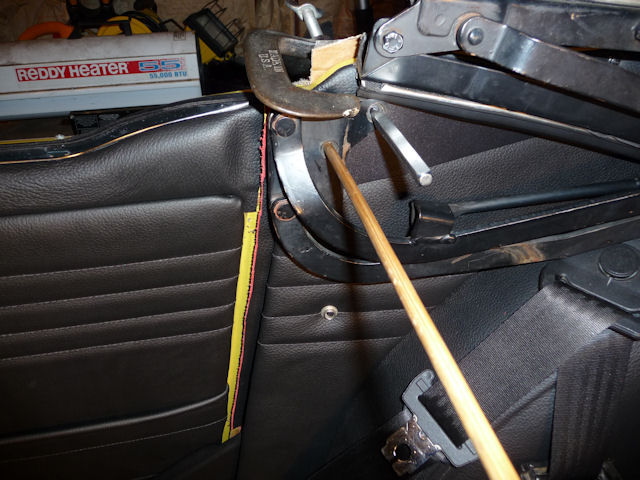
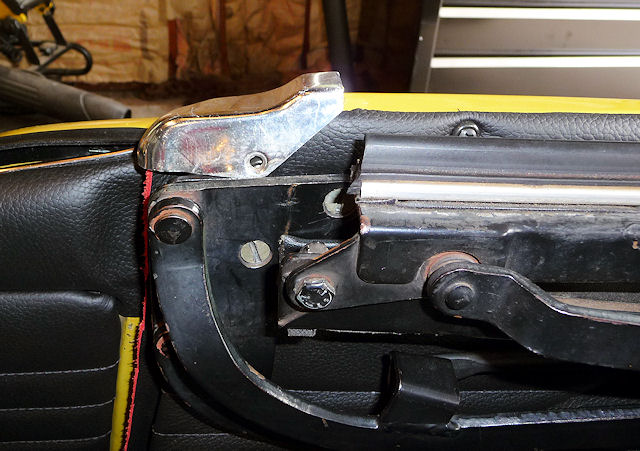
almost impossible. The easy solution is to pick 6 screws 
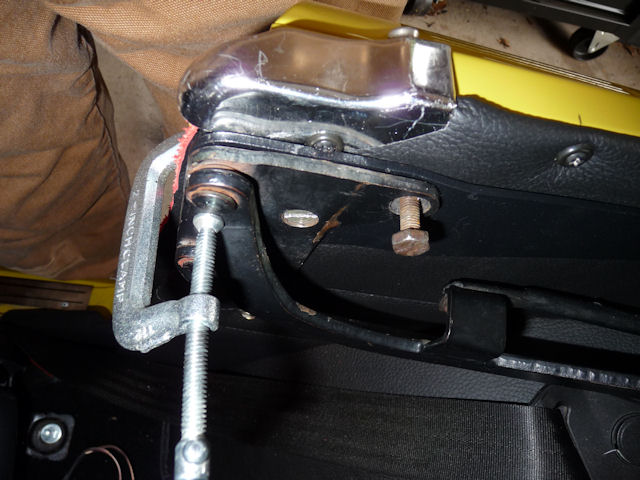
that are a little longer but I was determined to get it to fit. Doing so took all my creativity

To work on the bracket I needed to keep the top partially raised/lowered depending on what screw I was trying to get in. I had visions of my wife hitting the garage door opener and wrecking my top frame!
Besides the added thickness of my panels I also have to contend with the bracket for the wind blocker that adds about 1/8" more tickness.

I tried everything..........

Clamps, punches, bamboo skewers.......... but nothing worked.....the screws were too short.
Then an "ahaa moment".... I found a 3" bolt 1/4-28 that I used to catch the floating plate and pulled it to the bracket. That let me catch the bracket screw and tighten it down. Once that one was semi tight, I removed the bolt and was able to get the other two screws in with no problem. Once I had the technique perfected the other side was finished in no time. My Top was on! Sort of................
See that screw? Well................

The finishing cap is held on by that screw which is behind the bracket.

I loosened the bottom screw and removed the top two screws, got the cap on, which added more thickness...... I had to modify my technique by clamping it at the corner, using my bolt to pull the plate in and catching that screw first and then the other screw.

Now it's all done......

All except for the wrap up conclusion of the Good, the Bad and the Ugly!