|
Kidney Pads..... Why Are They Called That?
I decided to also make up
my own kidney pads as my original ones have broken and I
wanted them in matching material. I also decided to form
fit them more to my car rather then make up a generic
pair. My first set was a nice tight custom fit at both
the top and bottom of the pads. The bottom really hugged
the tranny tunnel while the top extended up high enough
to block out all the stuff under the dash. Then the
little light bulb went off in my head..............the
TR6 heater distributes air to only two places: the
defroster via hoses and the floor from a bottom vent
that just dumps the hot air onto the tranny tunnel. From
there it falls down the tunnel and lands on your feet.
My tunnel hugging kidney pads would effectively block
the hot air from reaching my feet. So I did a slight
redesign to allow for warm feet in cold weather.
|
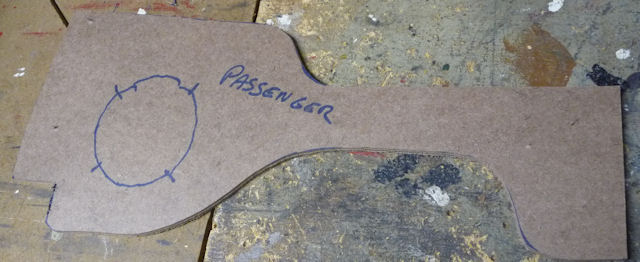
Here's the
passenger side ready to have the speaker
hole cut out |
 |
|
And here's my nifty hole cutting tool in my
drill press. You can actually see the two
panels here as I've only cut through one at
this point. Now I'll flip the panel over and
cut from the other side. This same
technique, with different sized spade bits
was used on all the panels. |
 |
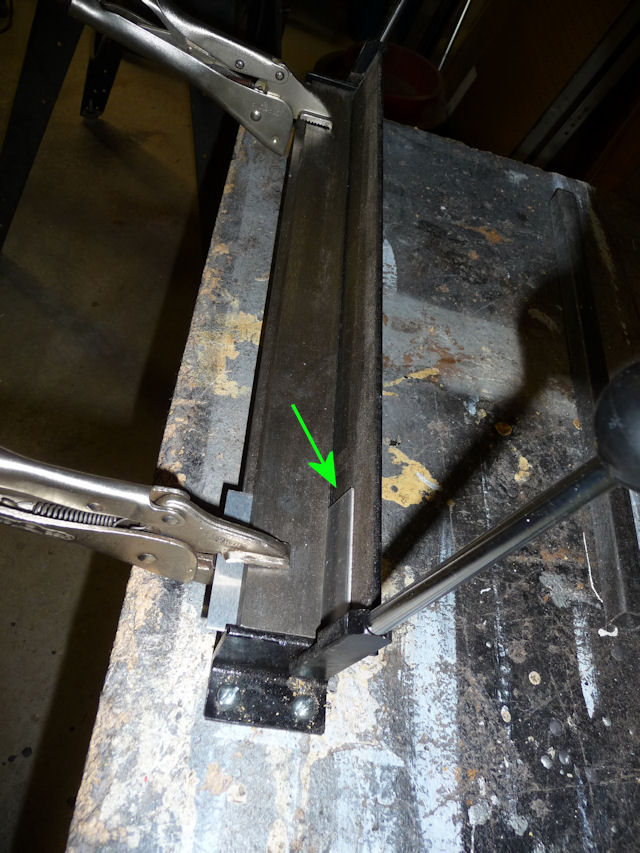
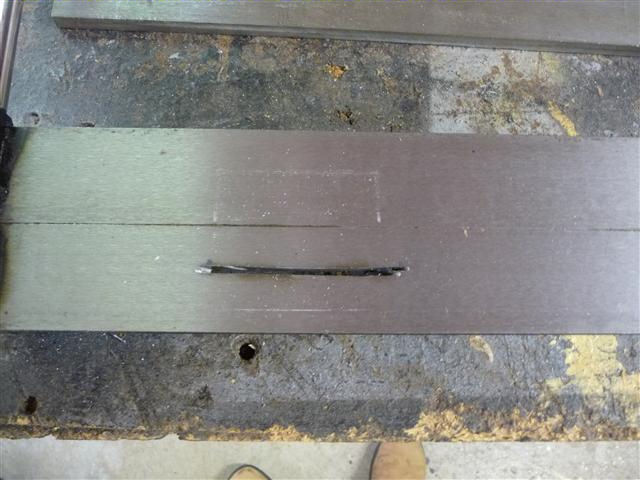
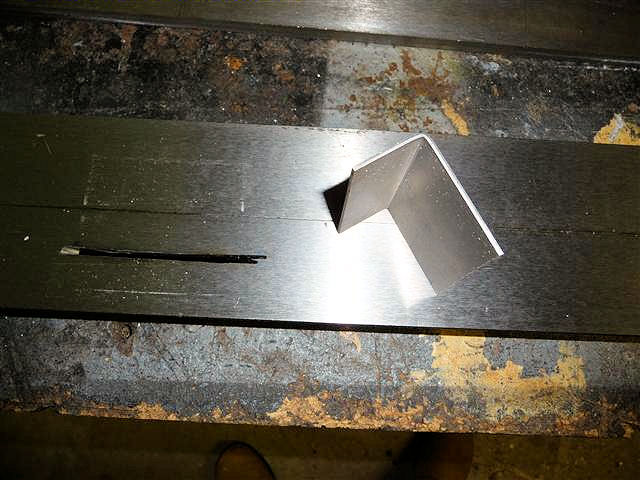
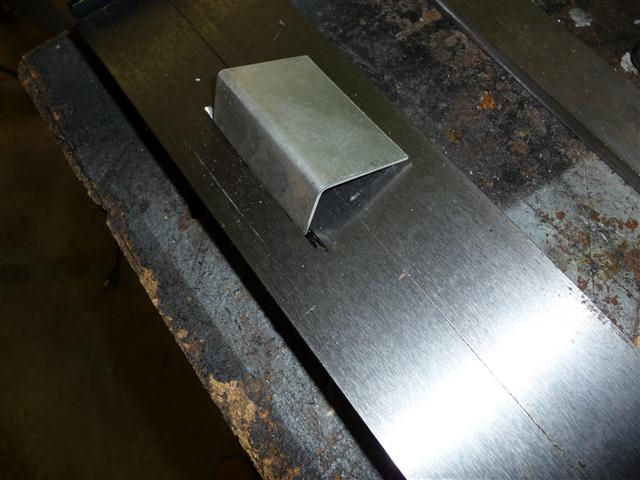
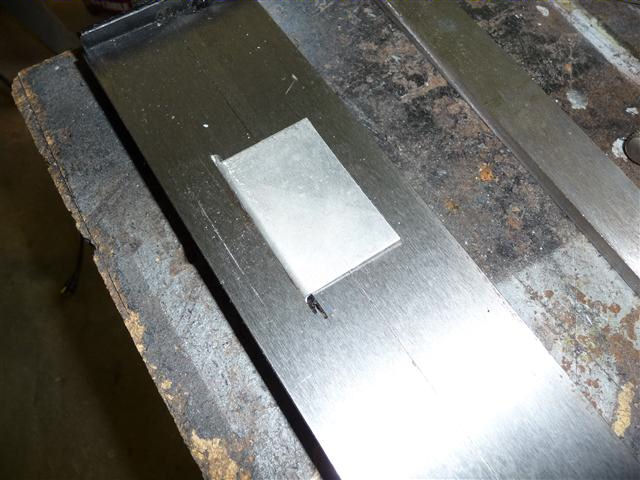
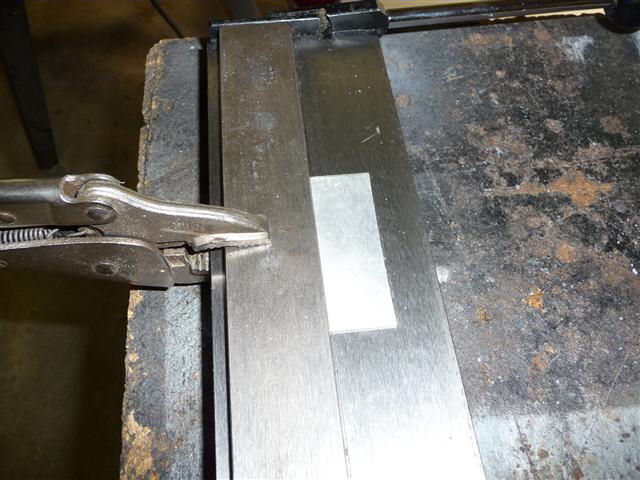
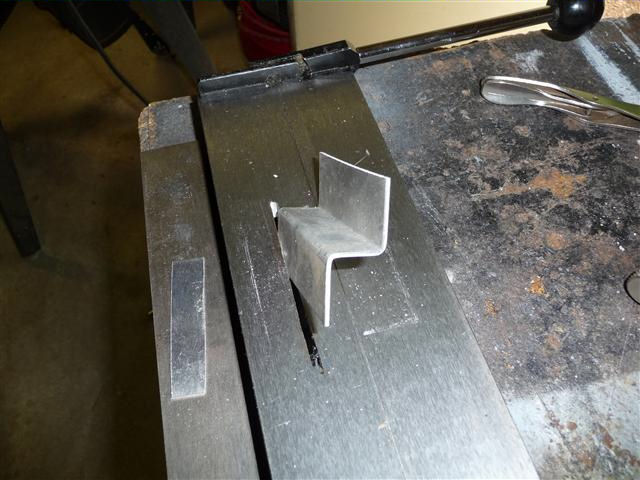
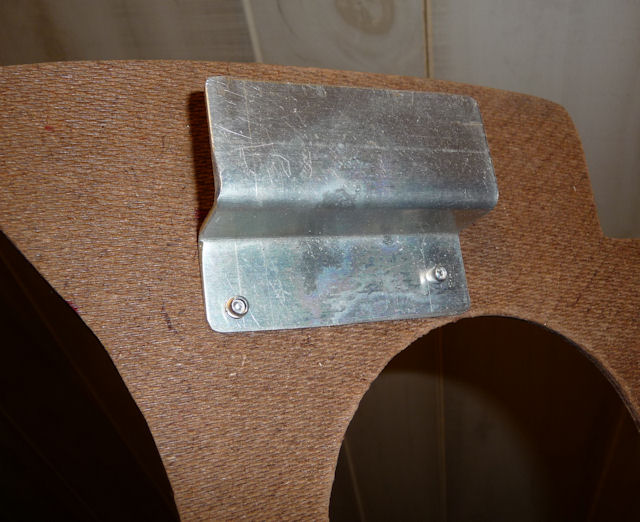
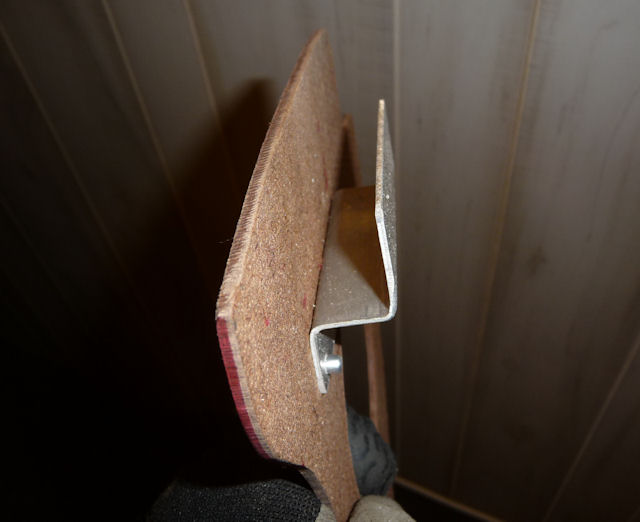
Making the panels was the
easy part but there's this metal bracket on the back of
the panel that attaches to the Dash Center Support and
holds it all in place. If I wanted to make up sets to
sell I'd have to make up my own brackets. I went to the
local steel company that has a "Bargain Bin" section and
picked up a bunch of aluminum plate for $5 which will
make a lifetime supply of brackets.
The process to actually
doing the panel sewing and foam attachment is shown
elsewhere but here's the finished product
that went in my car.
|
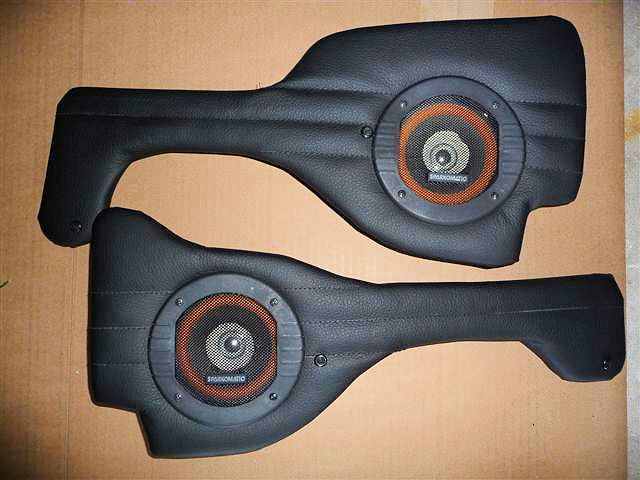
These are the
ones for my car done up in leather |
 |
|
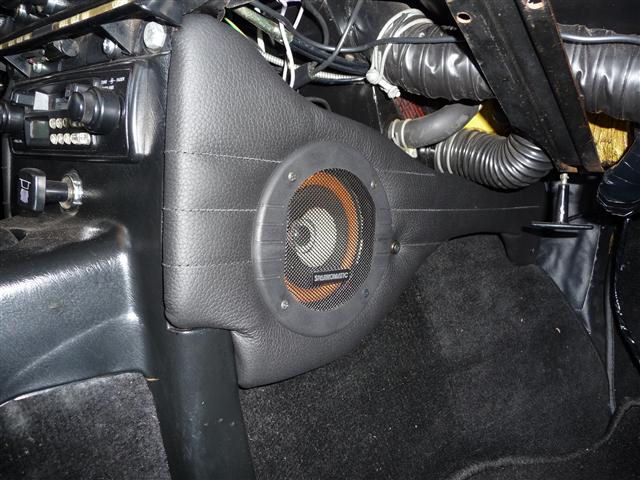
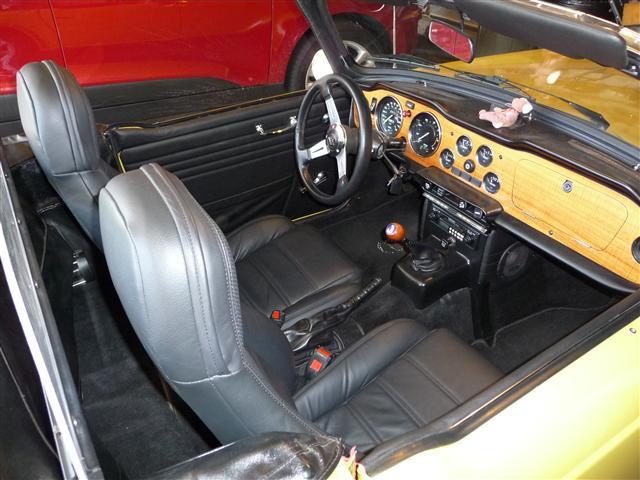
A perfect fit |
 |
|
And this is about
all anyone will ever see! |
 |
Installing the wheel arch
covers isn't difficult if you take you time
and follow these
steps.......... |