Making Your Own Interior Panels


 TR6 Home

Custom Panels

Crazy Idea

Templates

Panel Sewing

Door Pocket

Kidney Pads

Installation Tips & Techniques Below

Wheel & B Pillar

Door Caps

TR4 Door Pulls

Darn Handles

Window Seals

BristleFlex

Top Bracket

And In Conclusion


I Can't Sew!!!!!!!

OMG..........all of these pieces have to be sewn and/or glued and stapled!

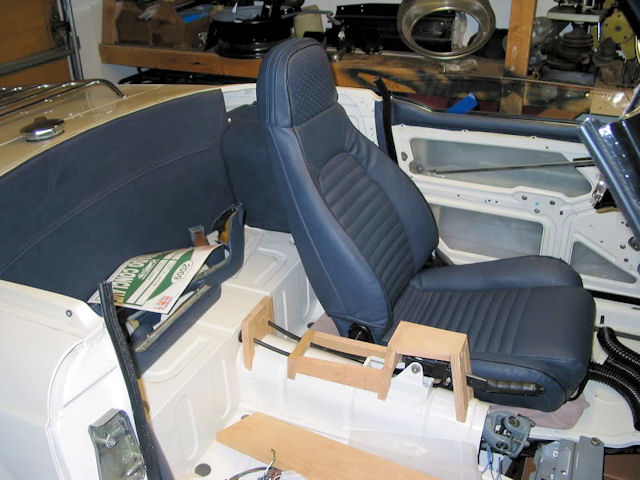
This is one of those projects that I've thought about for a while but was always concerned that I didn't have all of the skill sets needed to pull this off. I knew I could make the assorted backboards..........that's just simple carpentry which is something I've done my whole life. I 
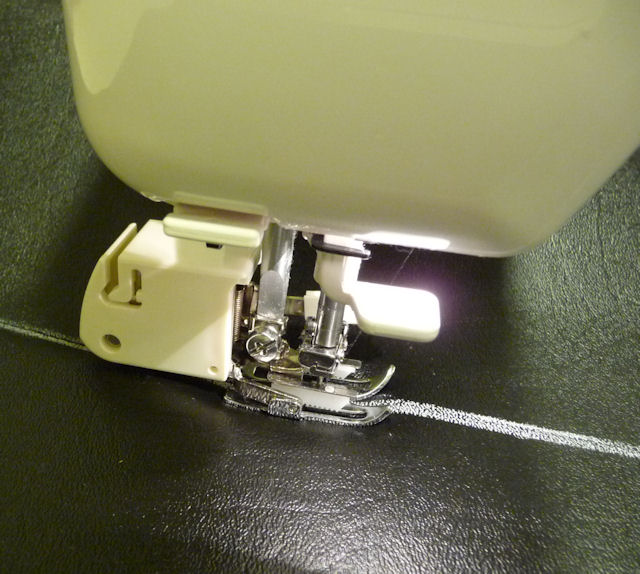
knew I could mount a vinyl or leather to the backboards............that's 
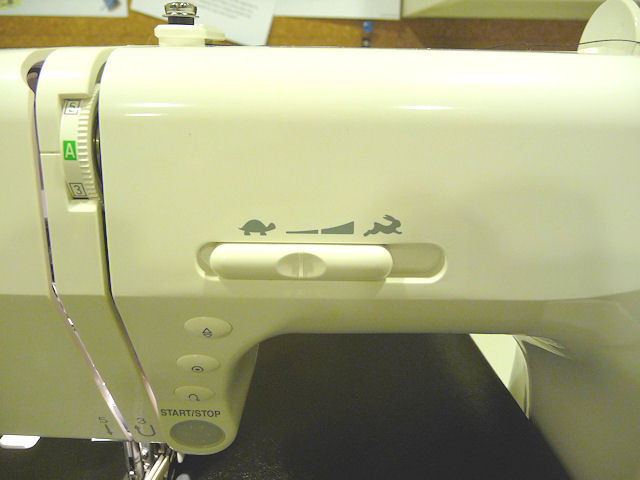
just glue and staples. But I didn't know if I could do the sewing.  Especially when we didn't even have a sewing machine. My first stop was to post the question in the 6-Pack Forum and I very quickly got a couple of responses including one fellow, David Harris, whose Mom taught him to sew at a young age. David posted some pictures of his work, all in leather, which included: Miata Seat covers, all interior panels, door caps, crash pads, sun visor, custom made center console between the seats and.............the center dash support. All done is a blue leather with perfect stitching. Heck, he even made his own seat belts to match the leather. He also had an industrial strength sewing machine.
 

This is the work of David Harris which inspired me to tackle this job.

Dave encouraged me to give it a try and said that it just requires practice...... so after pricing out material I discovered that the $480 vinyl panel set from all the usual suppliers only has about $50 of actual material (Backboards, foam and vinyl) I figured this was a no brainer. From a material standpoint I had nothing to lose, so it was all about learning how to sew. The next stop was eBay and the search for a sewing machine that could handle vinyl and leather. I quickly learned that there's lots of machine, both new & used, that can handle heavy material. But they all were consistent on these requirements: you need a walking foot - see picture below, the machine must take a #18 needle and handle #69 thread.

So I casually mentioned my plan to my wife................ who jumped at the chance to have a sewing machine again.......and the search took a radical shift from used to new. The first machine we bought, yes the first, was a mechanical Necchi that worked great but the speed was controlled by the traditional foot pedal. I quickly learned that my eyes, brain and foot are not always in agreement and I had trouble controlling the speed. I bought vinyl remnants at Jo-Ann Fabrics and kept on practicing.

One day our friend Kathy stopped over and she and Jeanne tackled a Grandmother sewing project. Kathy loved the sewing machine and wanted the eBay information on the people we bought it from but we did one better. We sold her our machine and upgraded to a Necchi electronic machine that had a.................speed control!! Set that little sliding switch to how fast or slow you want to go and you never exceed it. This was perfect for me along with a couple of other features like automatic starting and finishing stitches.

Perfect for me....... tortoise or the hare.......I lean toward the tortoise speed!

This is a must for working with leather or vinyl. It's called a "Walking Foot". With this attachment the material is fed from both the top and bottom. Without it..........it would just jam up as the bottom material would feed but the top wouldn't.

Basic panel sewing is.............follow the lines!

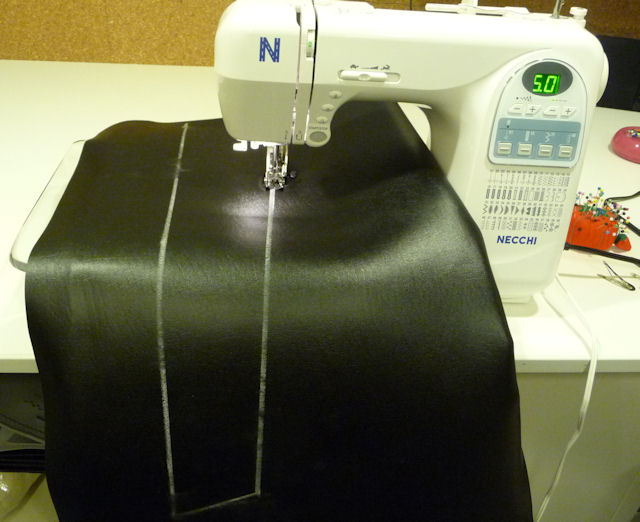
My plan was to make 2 or 3 sets out of vinyl and, hopefully, sell them on eBay and then make my set out of leather. Which is pretty much what happened..........my first set went on eBay, the second set went to a 6-Pack member and the 3rd set went to a guy who saw the eBay set and asked if I'd make a set for him.

Practice is over and it's time for the real game to begin. 
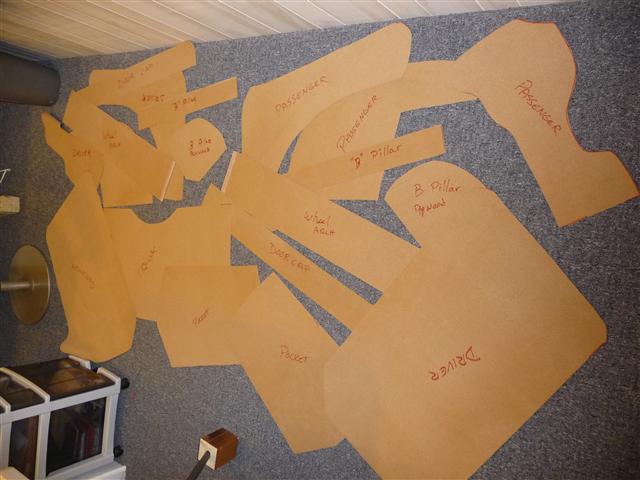
Let's start with making the templates