|
The Dreaded Inner & Outer Window Seals
OK...........my
bad.......I didn't take pictures of this process because
it takes two hands, creativity and patience. But the end
result is well worth the effort. In the past I've used a
mix of screwdrivers and needle nose pliers to get those
blankity blank clips attached with the seals but this
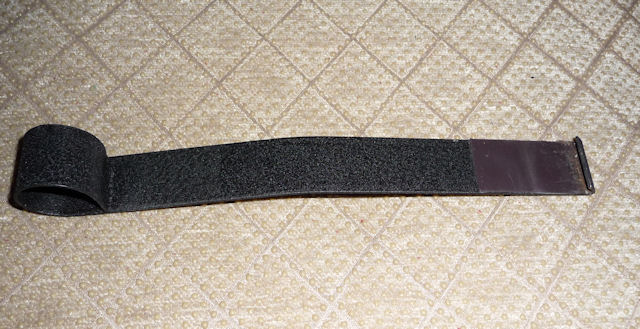
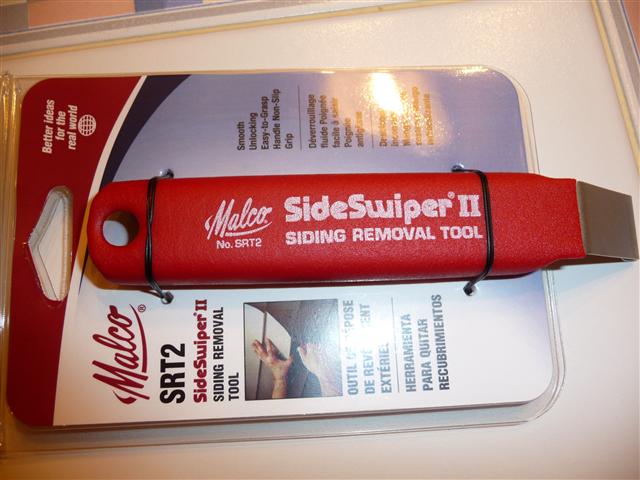
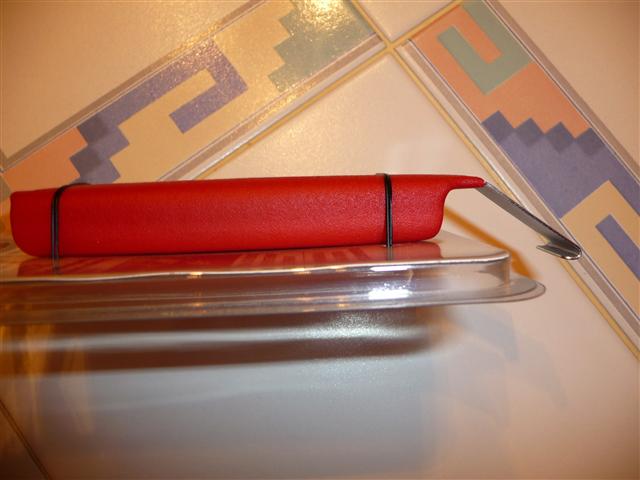
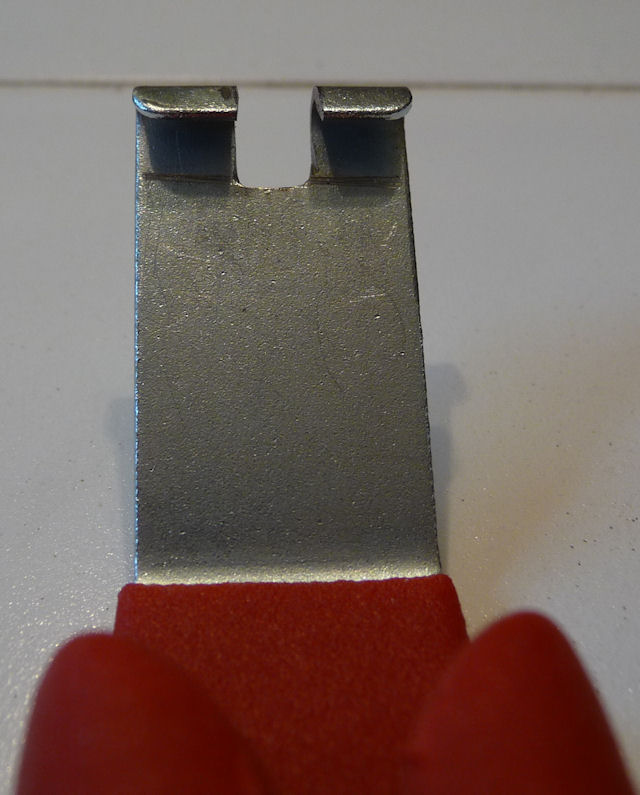
time I sucked it up and bought this tool from Moss. And
do this with your door panels off of the car as you will
drop many many clips down into the door.
Bristleflex............the Real Stuff!
When I redid my interior
back in 1997, I bought the only fuzzy door seals that
were available and they were pretty crappy. They didn't
grip right, lost their gripping ability and kept falling
off the doors. This time around I heard about
MacGregor British Car Parts and how Martin MacGregor
has Bristleflex made to original factory specs. They're
pricey at $150 but still $30 cheaper then Moss for the
same pieces.
|
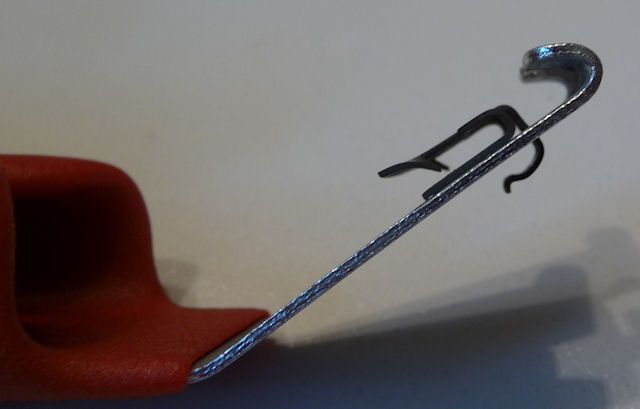
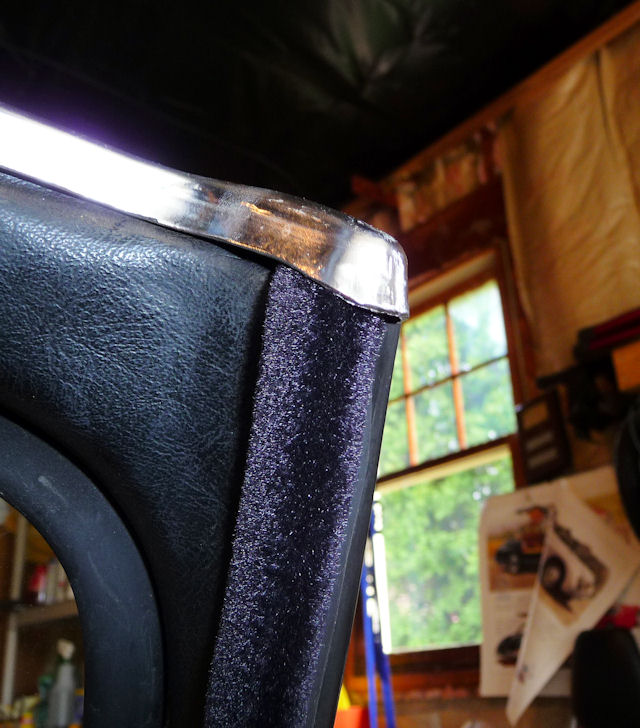
Here's one look
at it..............notice anything
different? |
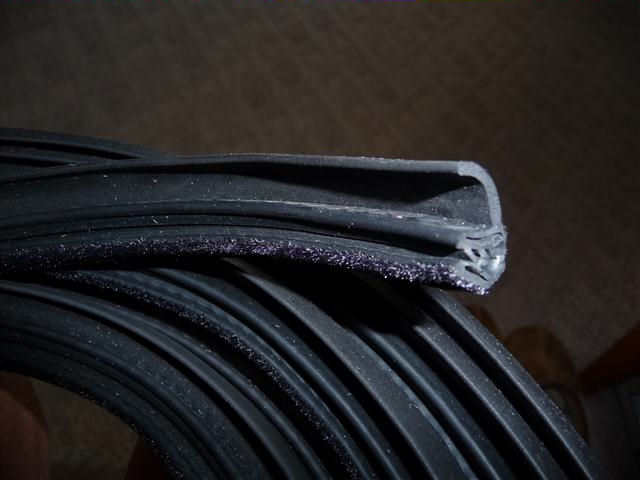 |
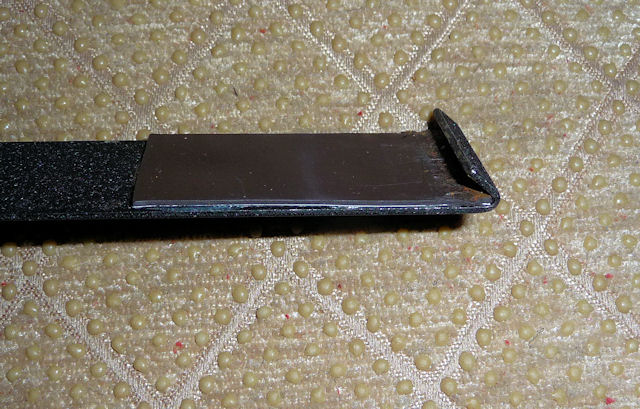
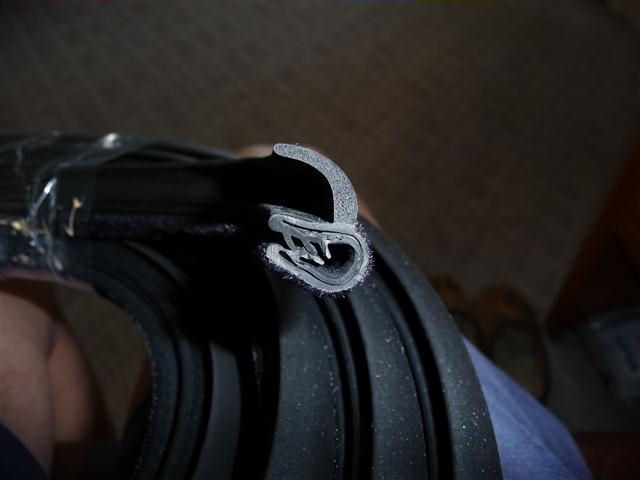
| The rubber
seal is not an oval. It's open just like the
factory installed back in the olden days.
This ensures proper door closure. No hammer
needed to install this...... just press it
on with your hand and it doesn't come off
easily once it's locked on. |
 |
|
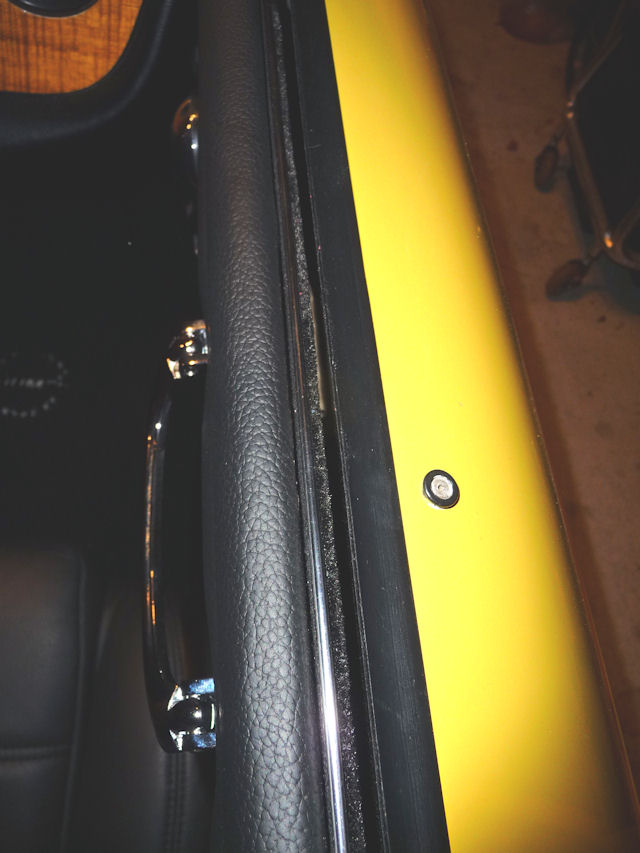
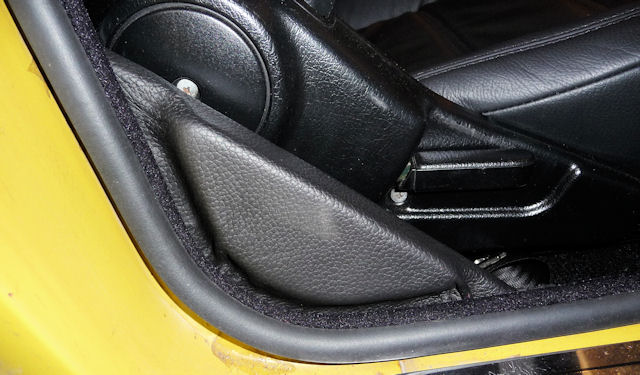
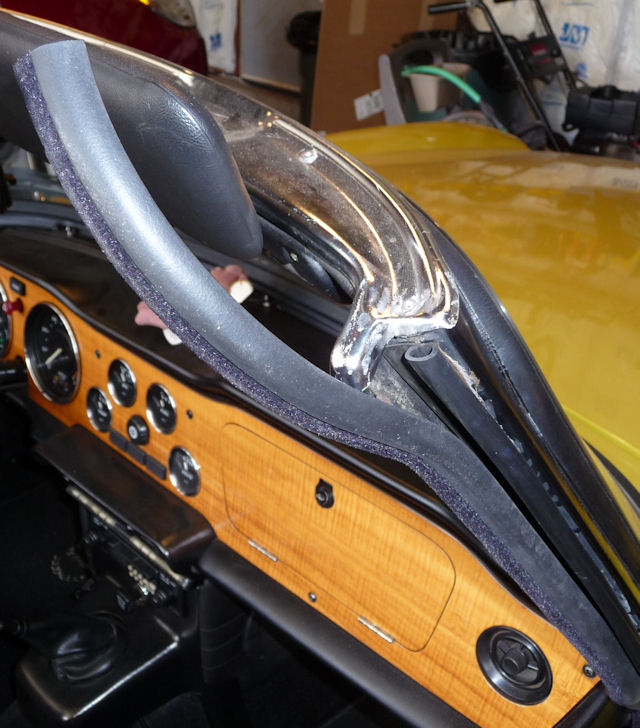
Look how nice
that looks going by the leather covered "B"
Pillar insert! |
 |
|
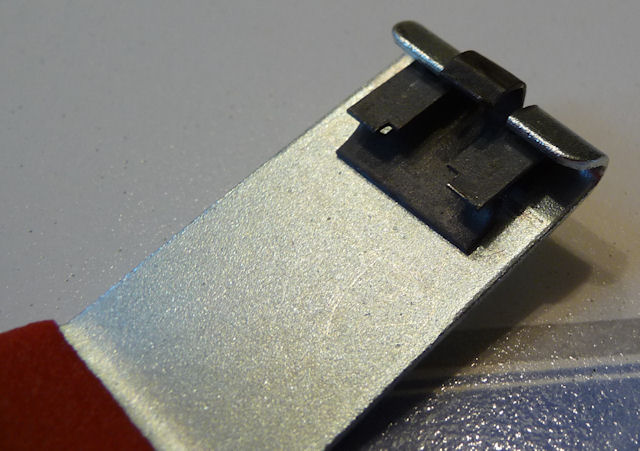
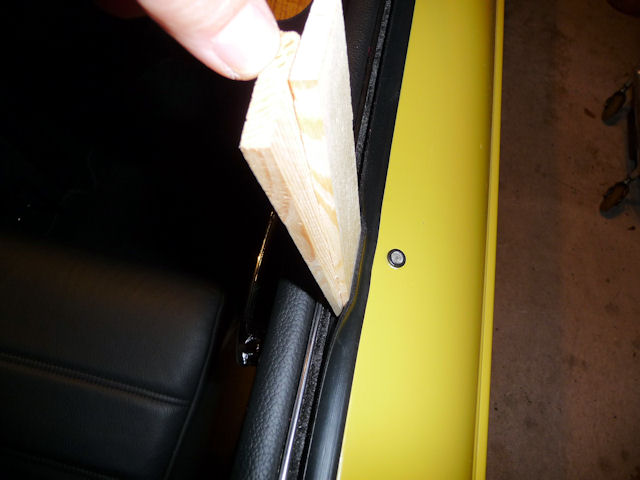
Just tuck it up
under the door cap............ |
 |
| And work your
way to the windshield cap. Mark it a little
above the cap and cut it with aviation/metal
shears. |
 |
|
Then stuff that
end under the cap and you're done. |
 |
Now the struggle begins as
I try to get the
convertible top brackets to fit.........
|