|
Nissan
Differential Upgrade
Richard Good
of
Goodparts.com has developed, among other
things, an upgrade kit that lets you install
a Nissan differential in your TR6. You have
a choice of various gear ratios (3.54, 3.69
or 4.08) depending on your need for speed or
your need for low RPM's. The source cars are
the Infiniti Q45 or the Nissan 300ZX and
fall under the generic title of R200
short-nosed. For a complete list of the
model and year donor car, Richard has a
complete
listing here. You can buy your
differential from Richard ready to install
or source your own and do the few
modifications required. Regardless of where
you get the differential, you'll have to buy
Richard's
installation kit to get it all to work.
In addition, depending on your transmission,
you may have to shorten your driveshaft.
With the Toyota 5 speed, there's no need to
shorten the driveshaft...............or so I
thought until I got a phone call from Herman
Van der Aker.....but more on that later and
in the 5 Speed section of the site.
Unlike the
Toyota 5 speed, the differentials are
somewhat harder to find. I've searched both
on line Auto Parts and eBay for the past 5
months before finding one on eBay that met
all the requirements. The price was right
and the shipping was reasonable so I grabbed
it. It was from a Nissan non turbo 300ZX and
has the nice aluminum finned cover. Once I
got it, I was taken back by the cosmetics,
i.e. a rust covered case, but everything
turned nice with no free play or slop. The
other thing I was struck by was how heavy
these things are...........83 pounds. When I
got my old unit out of the car, I put it on
the shipping scale and it came in at 70
pounds. So, in this case, the upgrade is
adding weight to the car.
I'm
in the process of cleaning it up with a wire
wheel on my angle grinder. The flange is off
to my TBI buddy Rick Patton, who will
machine the flange to match the TR6
flange........and he's sending a nice new
NAPA pinion seal. All I have to do is grind
off the Bump on the housing.
|
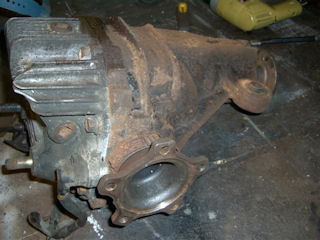
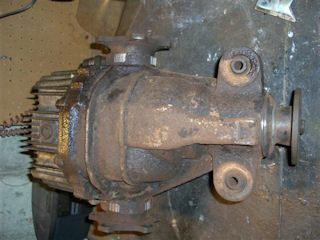
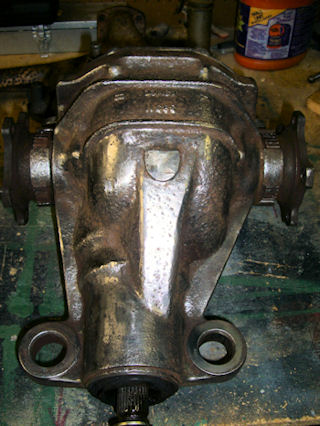
Nissan 300 ZX 4.08:1
Differential. The wetness is
from shipping. |
 |
 |
|
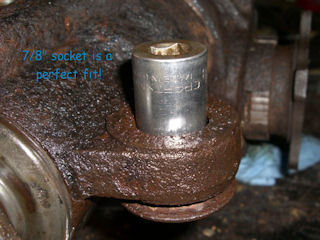
Knock
out the old bushings with a 7/8"
socket, a BFH and lots of PB
Blaster. |
 |
 |
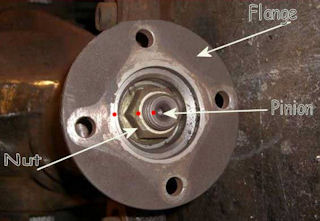
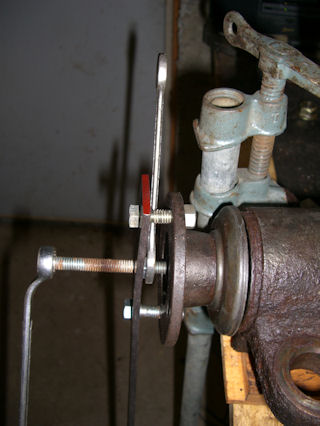
I
marked the flange, nut & pinion
with a prick punch for later
reassembly. I used my
impact wrench and a 1-1/16"
socket on the nut. My
homemade flange puller worked
great. |
 |
 |
|
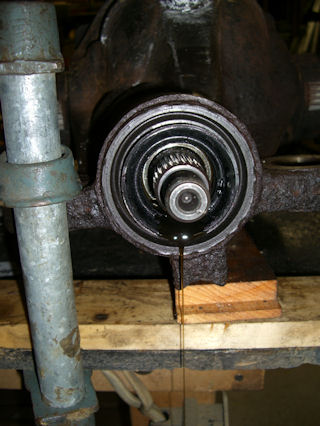
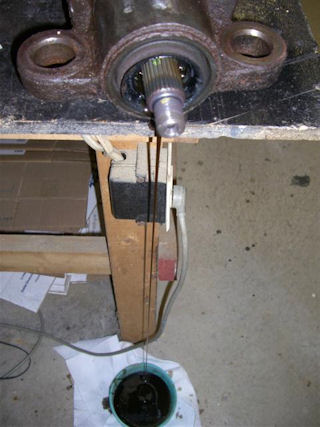
With
the flange removed, gear oil
leaked out and out...had to get
an even bigger container |
 |
 |
|
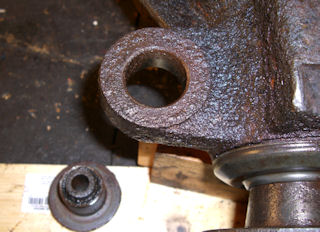
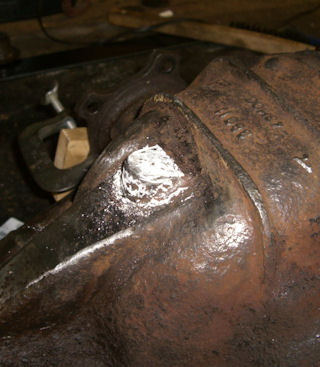
This
needs to be ground off. |
Tab
ground down and Diff cleaned up |
 |
 |
Over the next
week or two I'll
attack the rusty case with my angle
grinder and wire wheels and then paint it with POR-15. I'll also wire
brush the aluminum finned housing and get it
as shiny as I can. With Christmas a week
away, I may not get much done until after
New Years.
|


