|
Engine & Transmission Removal
The bad news was
that the garage temperature was 6 degrees at
8:30 AM (1/3/08) and Al was due to get here at
10 AM to help me with pulling the engine and
transmission from the car. So I fired up the old
55,000 BTU kerosene heater and by 10 AM it was
about 40 degrees and by noon it was close to 55
degrees and getting too warm for the way we were
dressed! That's about when the kerosene ran out
but we were done with what we had to do. This
was a first for me and I was glad to have Al
there to guide me through the process.
I had spent the
previous two weeks disconnecting everything
under the hood as well as the hood
itself.......which is now resting in the Living
Room............God bless my understanding wife!
It's pretty obvious what you need to disconnect
to pull the engine........basically anything
that will keep the engine connected to the car
has to be removed, along with the radiator and
the front engine cross member. Back in the car,
the seats, carpet, dashboard support bracket and
transmission tunnel all have to be removed. At
this point the engine and tranny were drained of
all fluids and the radiator and coolant were
also gone.
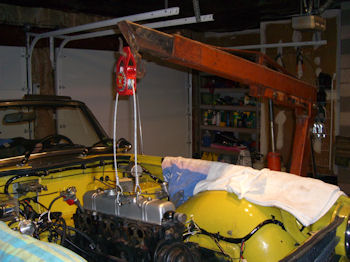
I was lucky in
that a local TR6 friend, Ivan Bailey, had access
to a 3 ton engine crane from his cousin's auto
body shop. To make life easier I also bought an
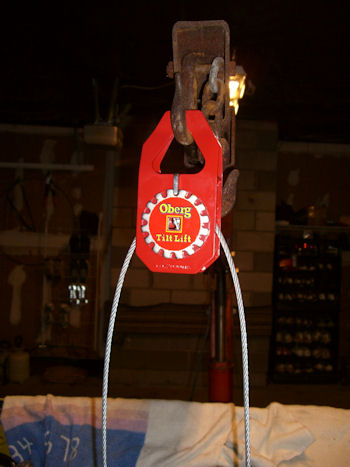
Oberg Tilt Sling to make removal even easier.
This simple and inexpensive device lets you
control the angle of tilt with a 1/2" drive
breaker bar. Al has pulled a bunch of engines
over the years but after using this for the
first time, he'll never pull another one without
it.
|
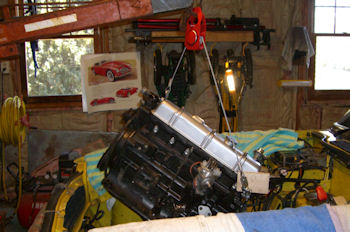
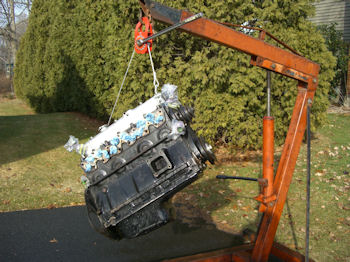
The crane
could lift the whole car! |
The Oberg
Tilt Sling made it very very easy |
 |
 |
I've never done
this before so I relied on Al for guidance
through the whole process. We hooked up the
crane to the engine and took up the slack and
then removed the jack stand that had been
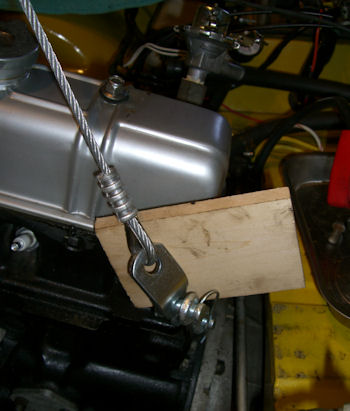
supporting the transmission. One of the tips I
got from the Triumph Mail List was to protect
the valve cover from the sling during the lift.
The car was about 18" off the ground and resting
on jack stands and we had about 6' from the top
of the grill to the ceiling of the garage. The
room need in front of the car will be determined
by the size of your crane. We had about 6' from
the front bumper to the wall which was plenty of
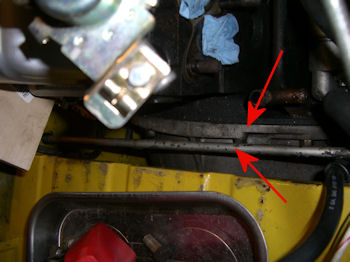
room. I had loosened all the bolts holding the
engine mount to the engine but discovered
immediately that we'd have to remove the engine
mount from the car too because the oil pan kept
catching on the mount. Once that was done it was
an easy pull.
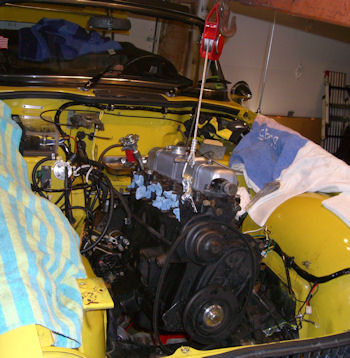
|
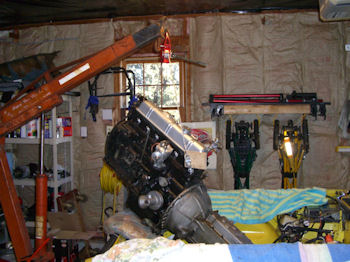
Sling
supporting the engine weight |
Wood
block protecting the valve cover |
 |
 |
Be
careful that the bell housing
doesn't bend the
throttle linkage rod |
Tilted to
clear the grill |
 |
 |
|
45
Degrees clears the front of the car |
Leveled
out and clear |
 |
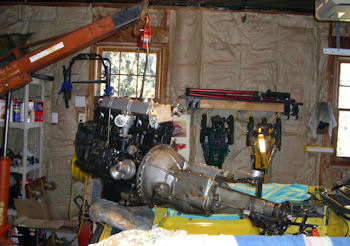 |
Now that the
engine and tranny were removed we had to put
them somewhere and luckily I had "inherited" a
furniture dolly from my in-laws when they moved.
While we had the engine hanging on the crane we
removed the transmission which left us with the
engine and pressure plate still attached.
|
Almost on
the dolly |
Now I can
roll it around |
 |
 |
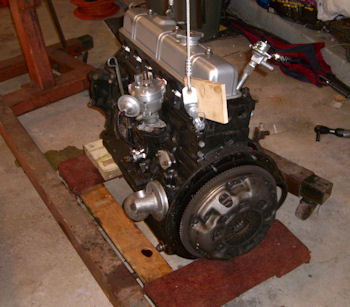
Once we had it
secure on the dolly we removed the pressure
plate and the clutch which still had plenty of
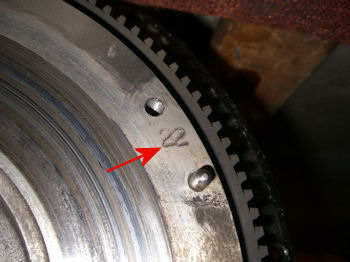
miles left on it. The only strange thing was a
stamping on the flywheel.
|
Does this
mean it's been lightened to 22 Lbs?? |
Engine
cleaning time |
 |
 |
Ummmmm...........nope. When I removed the
flywheel, it weighted in at 27 lbs and 6 oz!
After talking to some friends who are far
more knowledgeable then I, I've decided that
I won't lighten it but I will get a new
pressure plate to go with the new clutch
that's part of the 5 speed conversion kit.
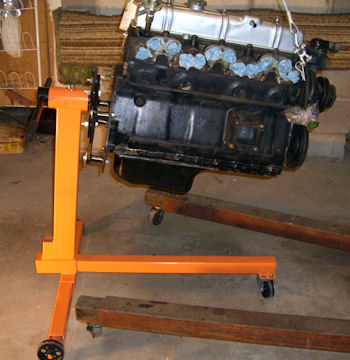
And I thought I
was being so smart putting the engine stand
together.......real men don't need no
stinkin directions! And then it didn't look
quite right. Good thing I kept the engine
attached to the crane.
|
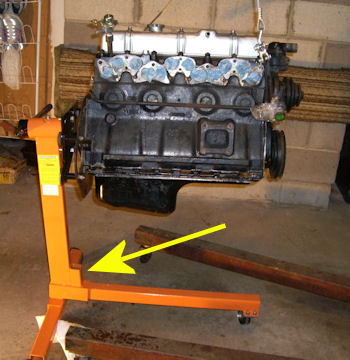
This
doesn't look good |
Guess I
better flip that support arm around. |
 |
 |
Let's go
change some Gaskets & Seals |


