|
Yes, this time it's in and is staying in the car! |
 |
You want to make sure you have
the rear tranny mounts loosely installed on the car. And you may find, as I
did, that following directions didn't work as easily as doing it "my way".
So play around with finding your best way to put it all together. Also, the
rear mount varies from model and year of car.
|
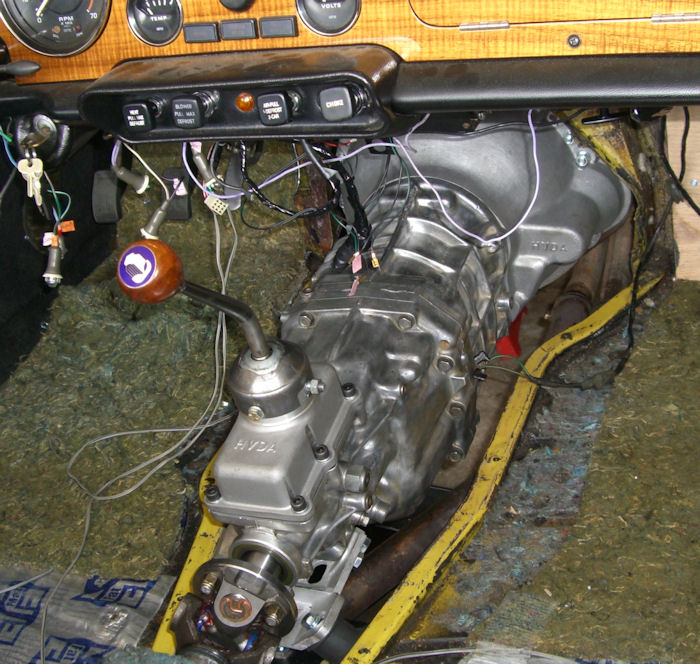
Here's what it looks
like put together & in the car. Black arrows point to where tranny
attaches. |
 |
 |
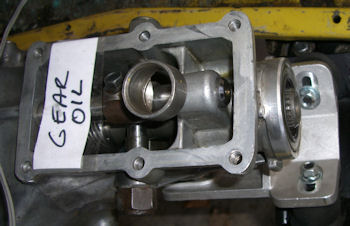
The easiest way to put gear oil
in the tranny is once it's all installed. Then you just remove the plug by
the back-up light switch, put the flange in the rear and pour the gear oil
in the shifter housing. When it starts to come out of the plug hole, it's
filled.
|
Making sure I don't
forget! |
 |
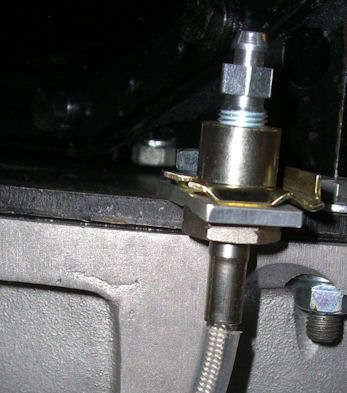
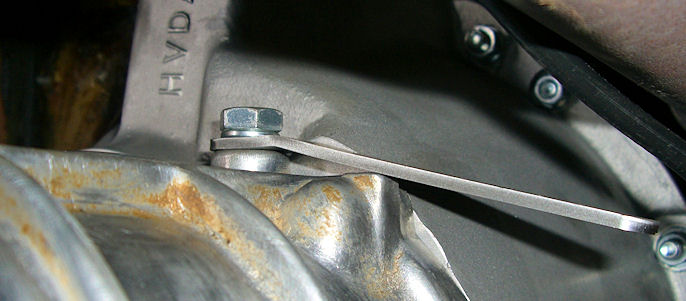
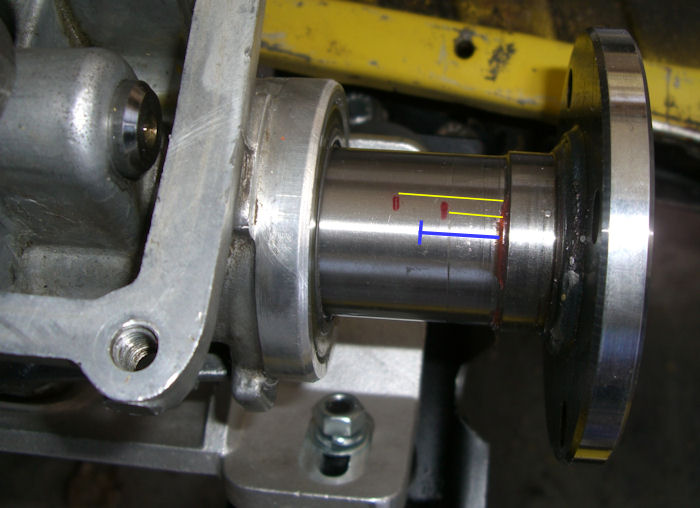
This next item deserves a BIG
picture because the setting is so critical. The shoulder on the rear flange
should measure a minimum of 1/2" and a maximum of 7/8" from the rear seal.
You want to make sure the driveshaft doesn't push the flange shoulder into
the seal damaging it or pull the flange out so far that it creates a
whipping action that damages the seal.
The red marks & yellow line indicate
the minimum & maximum distance. The blue mark is 1/2
way and where I positioned the flange for taking the driveshaft
measurements. |
 |
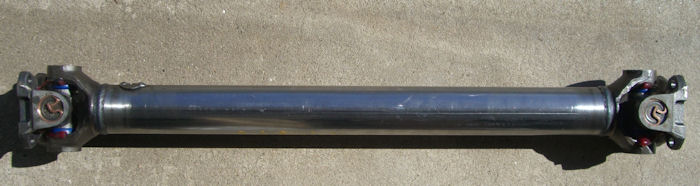
The driveshaft is another
critical component. Back in January, Herman called to tell me that he just
had a club member lose his tranny because the driveshaft moved the flange
back into the rear seal. Initially it caused an unnoticed minor leak but
while on a trip the seal finally failed, dumped all the gear oil and
destroyed the tranny. Since then he's caught a few others before they
failed. The problem varies from model to model and is worse with those cars
that have lots of rear suspension movement or have worn engine mounts. The
root of the problem is that the rear tranny flange is a slip (it slides onto
the output shaft splines and can move in & out) and the stock Triumph
driveshaft also has a splined slip that allows the driveshaft to move in &
out too. Herman supplies a locking collar that keeps the driveshaft from
collapsing but there's nothing to keep it from expanding. Many people think
that the threaded cap on the shaft is also a locking collar but, in fact,
it's just a dust cap. When I brought my driveshaft to the shop, he tightened
that cap as much as he could and then easily pulled the driveshaft
completely apart. The driveshaft shop also agreed with Herman that you
should NEVER have two slips in one driveline. As a result I went with a new
solid shaft that included new u-joints, yokes & flanges and balancing for
$210. If you plan on doing this conversion, budget for a new driveshaft
custom made to your measurements. And, I stress, every car will measure a
little differently. When we installed the engine, we positioned it as far
back on the new engine mounts as possible to allow for ease of fan belt
replacement. Then I also had a Nissan differential installed using the
Goodparts' kit on all new Nylatron bushings. As a result my flange to flange
driveshaft length was almost an inch shorter then the one Al Gary had made
up at about the same time.
|
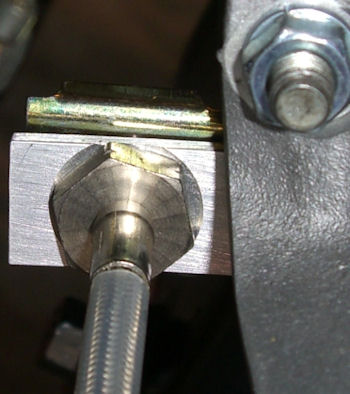
A perfect fit eliminates
any worries! |
 |
OK....... back to the tranny.
Time to get the shifter housing installed, hook up the braided line to the
M/C, install the speedometer cable and attach the bleeder valve.
|
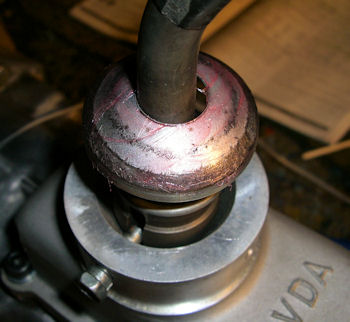
Make sure you grease
the shifter top and cover.....it's metal on metal! |
 |
 |
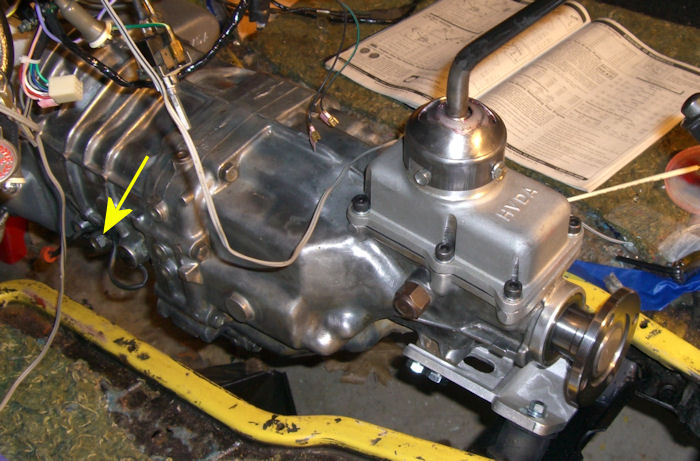
|
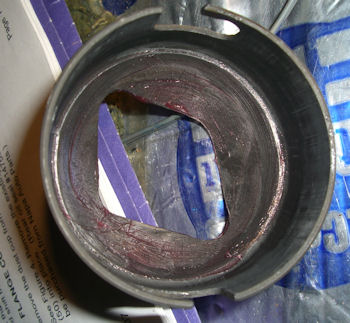
Yellow area points to
the overflow fill plug. |
 |
Herman provides some nice SS
braided hoses for the clutch M/C and for the bleeder valve as well as a long
length of speedometer cable and a custom bracket.
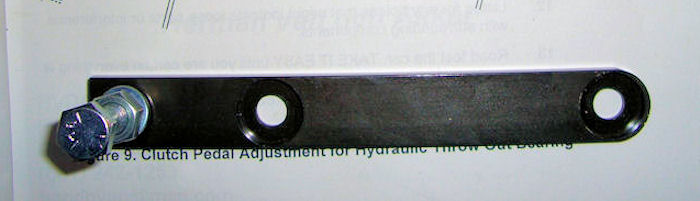
Before you can bleed the clutch
you need to install the Clutch Pedal Stop Bracket.......... this nifty
little device is what determines when you clutch disengages and prevents you
from overextending the t/o bearing. Herman's original kits came with a bolt
that you had to correctly position behind the clutch pedal and then drill a
hole in the firewall to attach it too. This new bracket takes all of the
guesswork out of the equation.
|
The bracket is nicely
machined for a perfect fit. |
 |
|
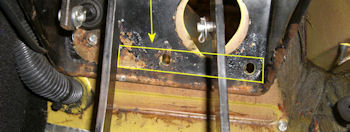
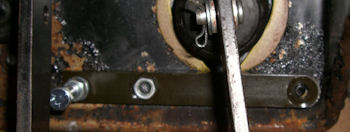
The bracket mounts on the
bottom servo bolts. Pretty ugly pedal box........ that's what
leaking
brake fluid will do when you brake m/c lets go! |
 |
 |
Bleeding The Clutch
So
here's how Herman told me to bleed the clutch...... pay attention because
it's not what you think:
-
Remove the pedal stop bolt
-
Let the bleeder valve hose
hang straight down
-
Fill m/c with brake fluid -
use ONLY DOT 4 fluid. DO NOT use DOT 5 Silicon fluid!!!
-
Open the clutch bleeder valve
-
Pump the clutch until fluid
flows in a nice steady stream
-
Don't empty the m/c or you'll
have to start over again.
-
Shut the valve and refill the
m/c
-
Repeat steps # 4, 5 & 6
-
Don't overfill the m/c. Leave
it about 3/4" from the top. As the clutch wears down, the fluid will
rise higher in the m/c
-
Reinstall the clutch pedal
stop bolt
You probably noticed that there
was no mention of getting all of the air out of the system. Herman swears by
this process and doesn't worry about bleeding until there are no more air
bubbles. He said it's a self-adjusting clutch. And I can tell you that my
pedal has great feel.
Setting the Clutch Release Point
OK...technically, you aren't
setting the release point. You're going to set the pedal stop bolt just past
the clutch release point. Run your tranny through the gears and feel how
easily it shifts. It should shift just as easily once the engine is running
and the clutch is disengaged.
Start with the stop bolt screwed
out as far as it will go and still stay in the bracket. My car was on jack
stands so I just started it in 1st gear and tried to shift into 2nd gear
which it did with some effort. So I screwed the bolt in a turn or two and
tried again. I kept doing this until I could easily shift through all 6
gears without any grinding or heavy resistance. The best grinding tests are
1st and reverse. Once I could easily go through all the gears, I turned the
bolt in another turn and locked it down.
Now that I'm driving the car I
have to pay attention to fully depressing the clutch pedal to get a nice
easy shift. If I try to shift with the pedal only partially depressed, I get
a "drag-like" feel which tells me the clutch is full released.