| Everything back
on........... I won't go through the steps to set
the bearing "pressure" as it's different with
Uncle Jack's Stub Axles from stock. |
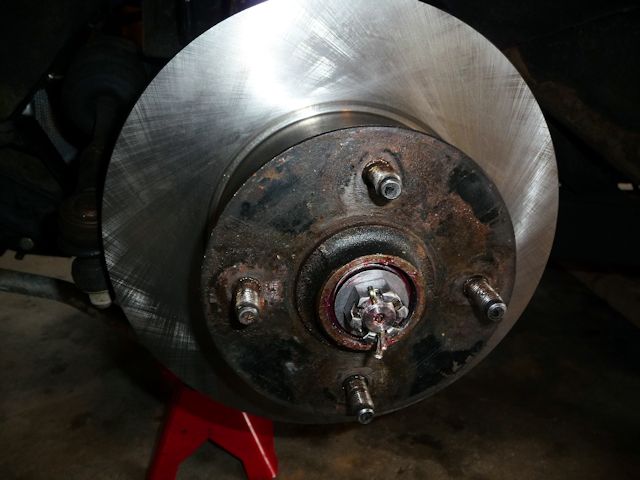 |
| And after I got the
hub back on I looked over and saw the F@$*#ing
shield on the floor! And the only way you can get
this back on is to totally remove the hub assembly
again........ARGHHHHH...... and to add insult to
injury..............there's no need to even remove
the darn thing. Live and learn............... |
 |
|
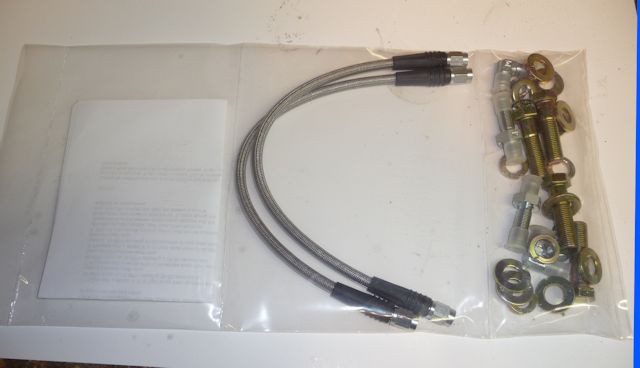
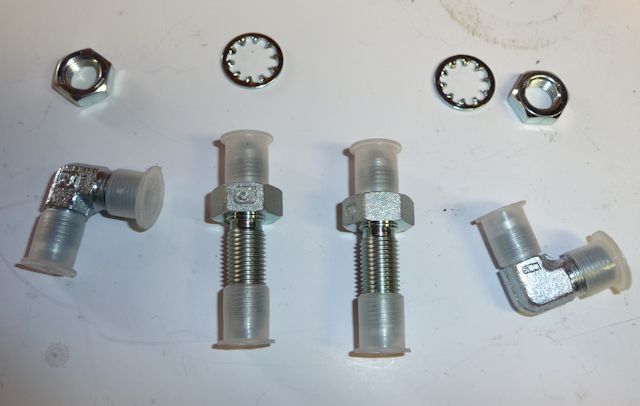
The
kit comes with a bag of bolts and two new brake
lines. |
 |
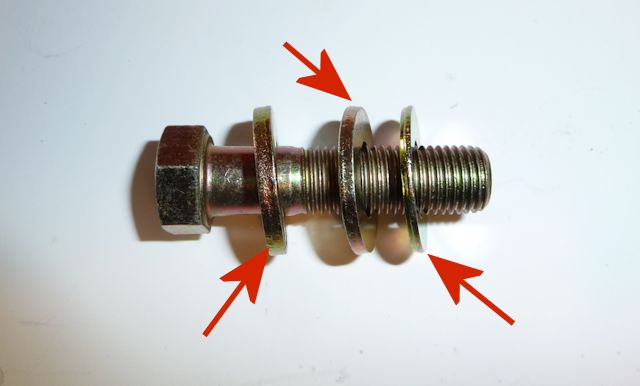
| The kit comes with
new caliper bolts and four sets of three different
thickness 7/16" washers. These are used to set the
spacing of the caliper around the rotor. |
 |
|
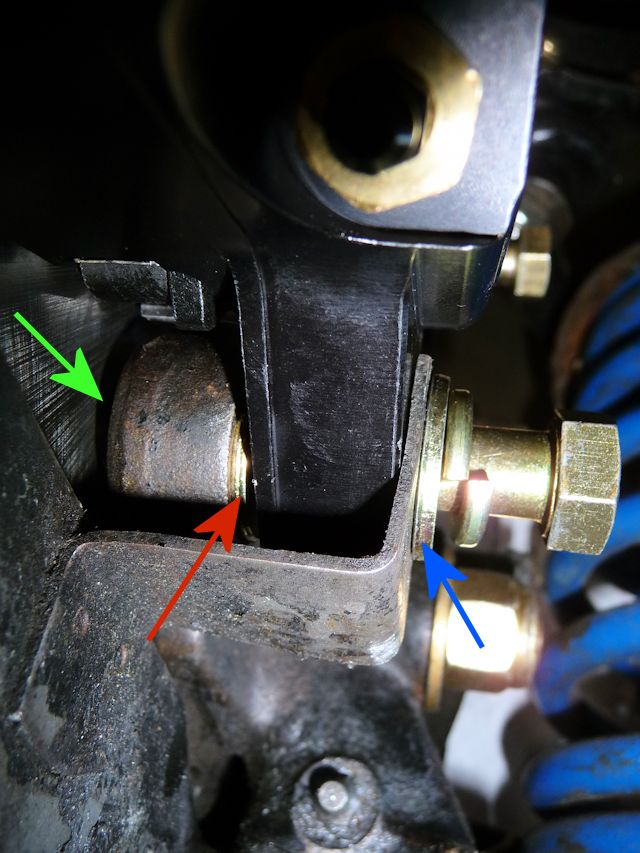
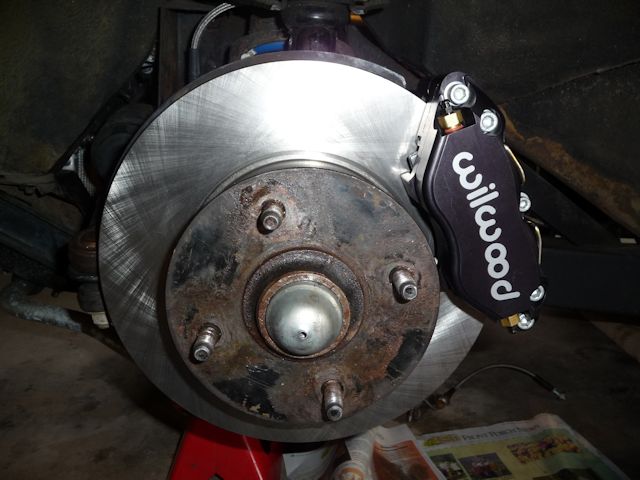
IMPORTANT:
There's two things you need to determine: what
size washer is needed at the red arrow to center
the pads on the rotor AND what size washer is
needed at the blue arrow to keep the bolt from
protruding through the mounting hole, green arrow,
and hitting the rotor. I used the thickest washer
at the blue arrow and the middle size as the
spacer, red arrow. |
 |
|
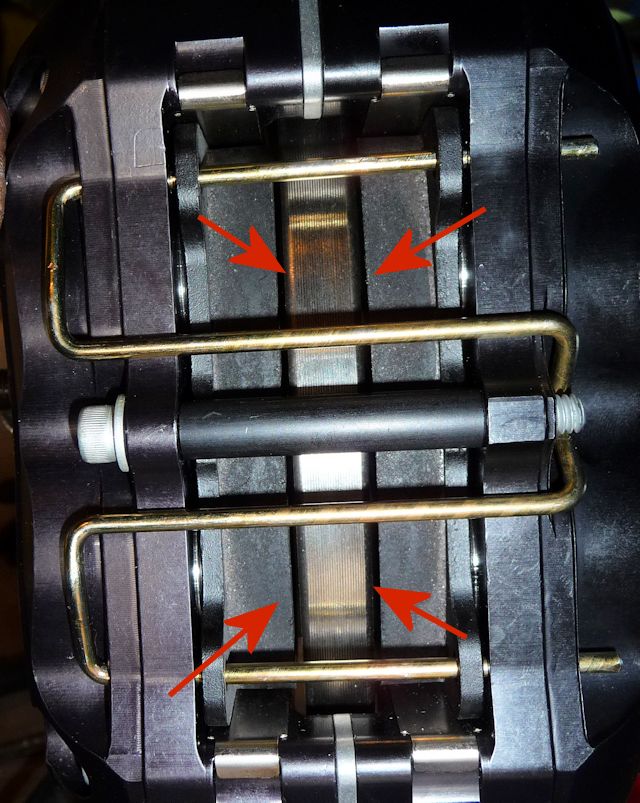
As
you can see the rotor is centered between the
pads. |
 |
|
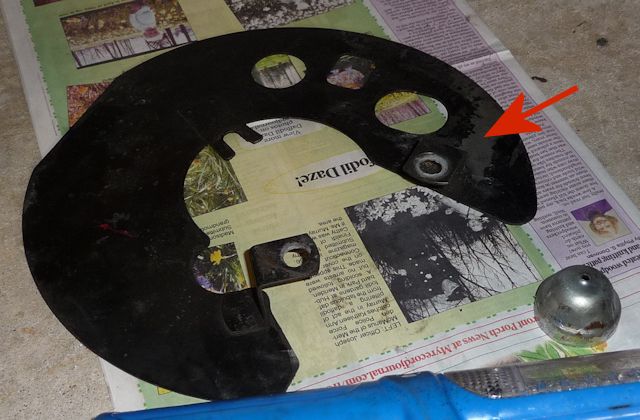
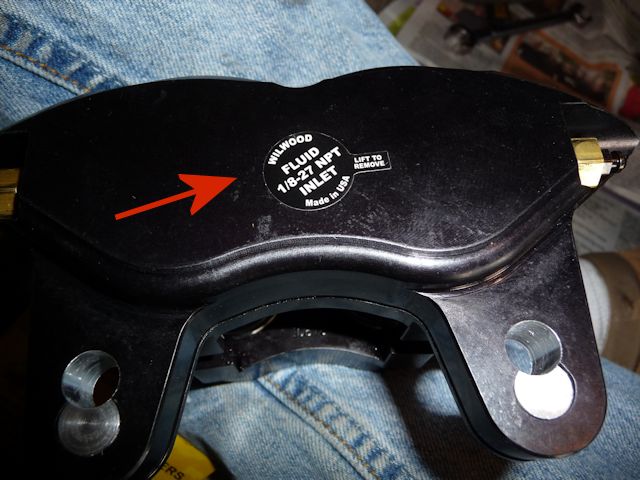
This
label covers the brake fluid inlet hole for the
fitting. |
 |
|
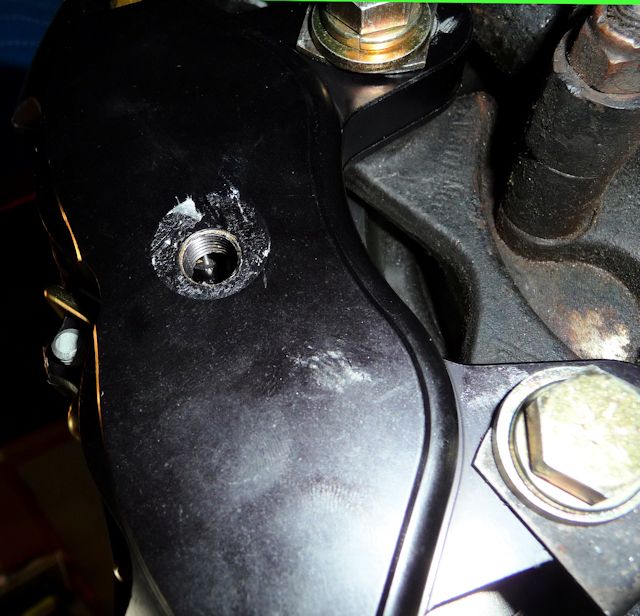
Just
an empty hole for now............... |
 |
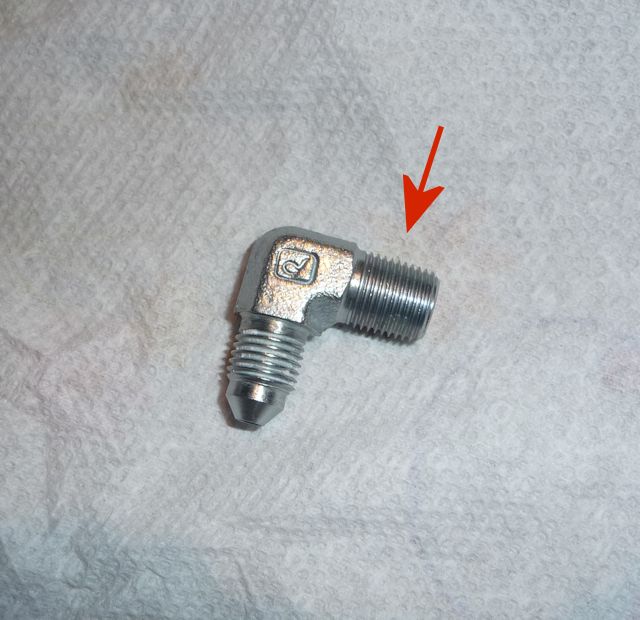
| Here are the brake
line fittings.............. see how they have
those little plastic caps on them? |
 |
| This is the fitting
that goes into the back of the caliper. Don't do
what I did and remove ONE of the plastic covers
and then use sealing compound on .... the wrong
side! The compound goes on the flat
end..........so I had to clean all the compound
off of the other threads. |
 |
|
Per
the instructions, I used a Teflon thread sealer. |
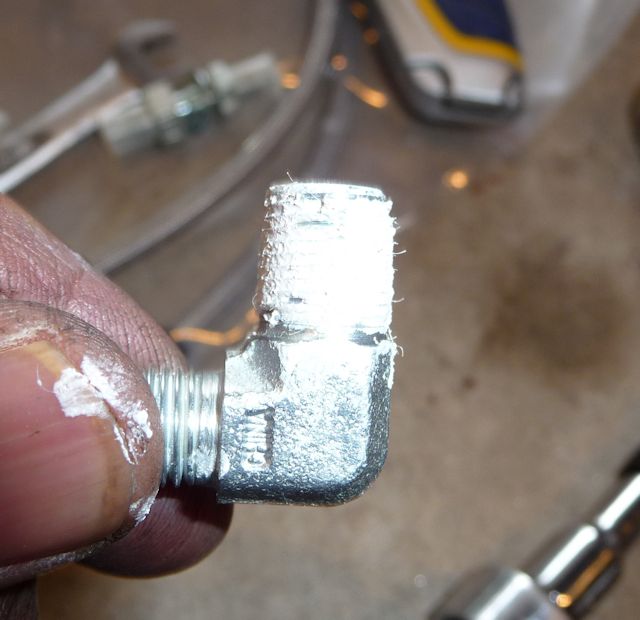 |
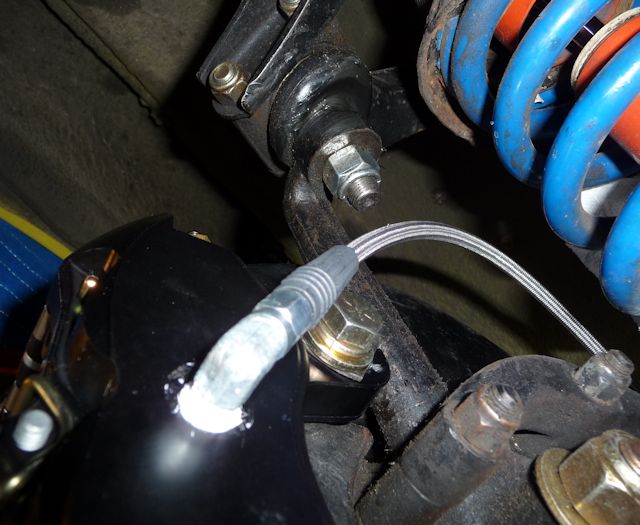
| This was the only
scary part for me. The fitting screws into the
caliper and has to end up facing forward and at a
45 degree angle up. Seeing as the caliper body is
some sort of lightweight alloy, I had visions of
stripping the threads. |
 |
|
But
it all went around just fine and then threaded on
the brake line. |
 |
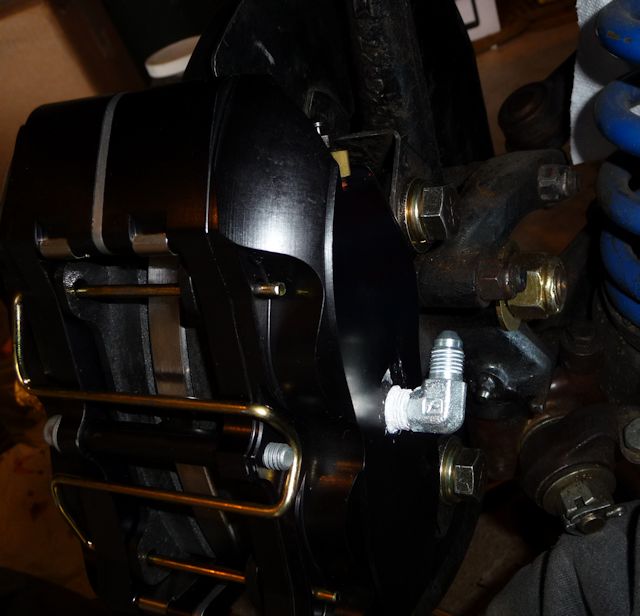
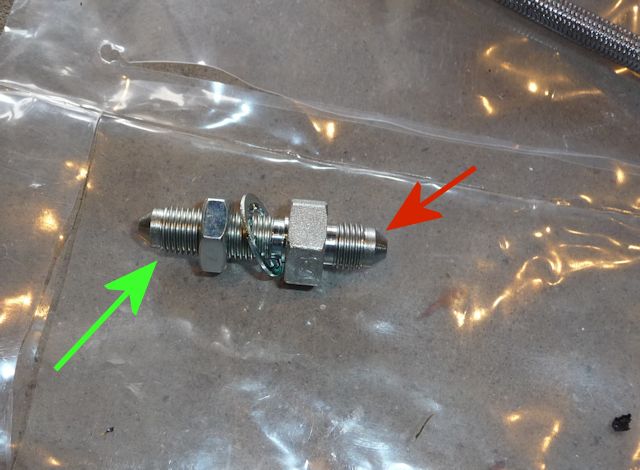
| This fitting goes
on the frame and the red arrow end points up and
the green arrow end secures it to the frame. |
 |
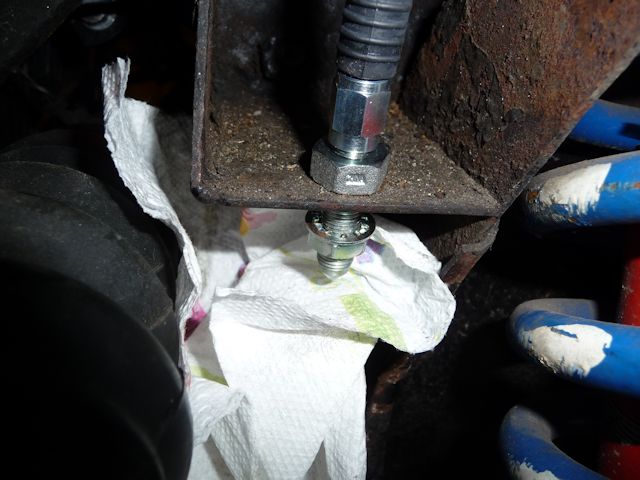
| The directions said
to secure it tightly to the frame but if you do
that, it's almost impossible to get the steel line
flared fitting lined up properly. The paper towel
covers the fitting to keep anything from falling
into the line. If you keep this fitting loose, you
can angle it to line up with the flared fitting,
attach the flare and tighten it to the frame
fitting. Once that's tight, you can secure the
frame fitting to the frame. |
 |
|
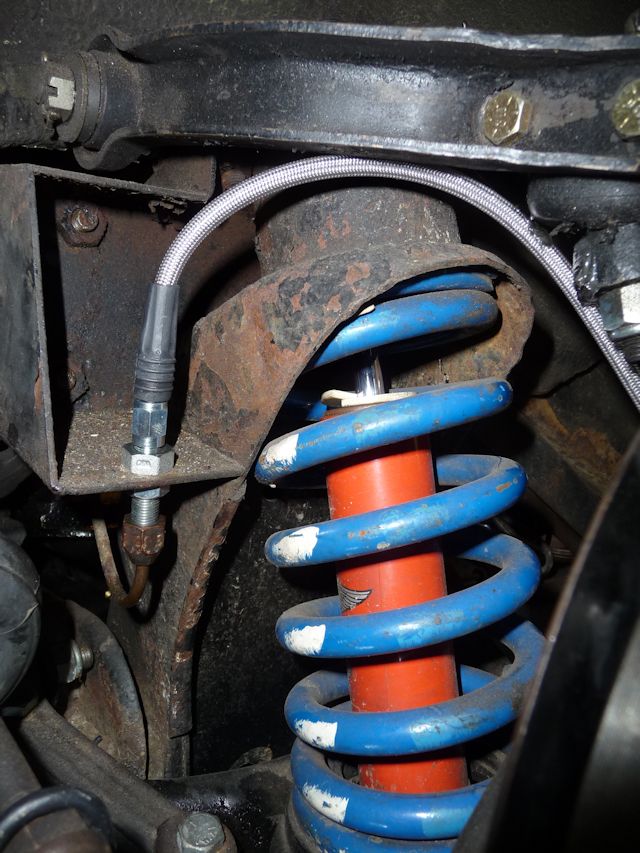
Here's everything all connected and tight. |
 |
|
Looking good........... just need to bleed them. |
 |
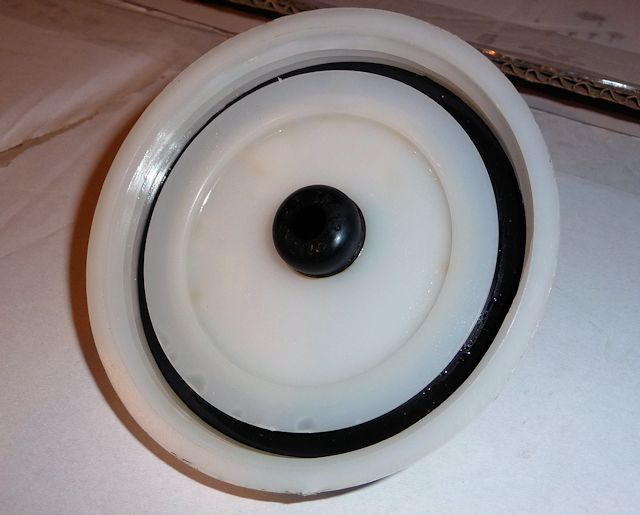
| For bleeding the
brakes, I use this old master cylinder cap with a
regular old tire valve stem. |
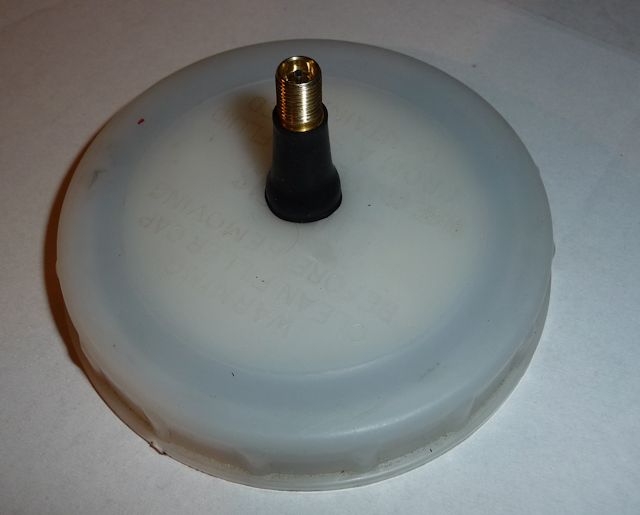 |
| When you buy the
valve stem the package tells you what size hole
its made for.........so drill a hole that size in
the cap and pull the valve stem through. You don't
need much pressure +-10 psi is plenty and doing it
this way eliminates the need for someone to work
the brake pedal. |
 |


