|
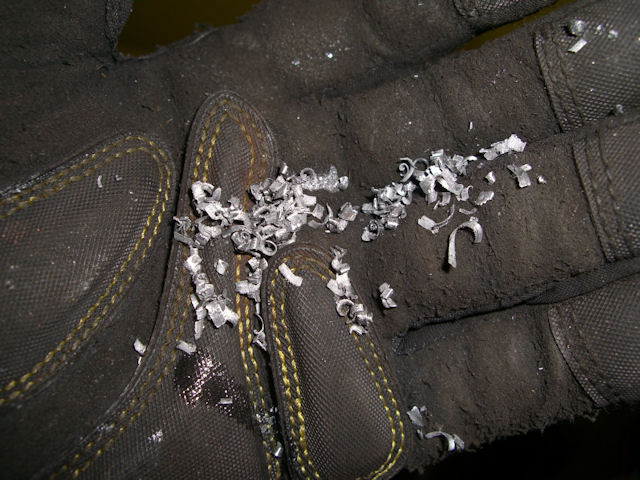
I even used an
old pair of gloves as I didn't want to wreck
my new ones with
embedded pieces of aluminum. Now would you really want to work bare
handed? |
 |
Two
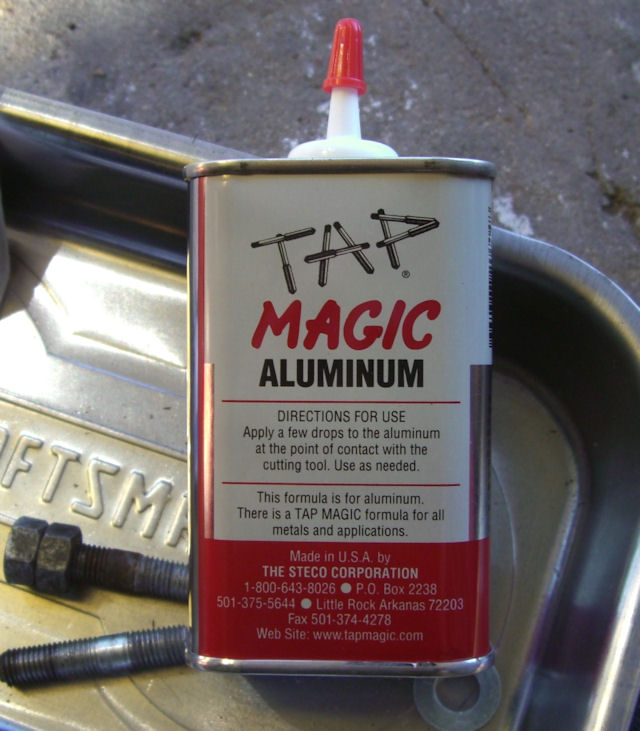
words: Measure & Tap Oil......OK, that's more then
two words but make sure you get a high quality tap
oil made for aluminum and measure twice and drill
once.
|
This is what Rick
recommended I use, but I wish I got it in an
aerosol can to spray
in the holes. It's a little messy shooting it in with a can |
 |
|
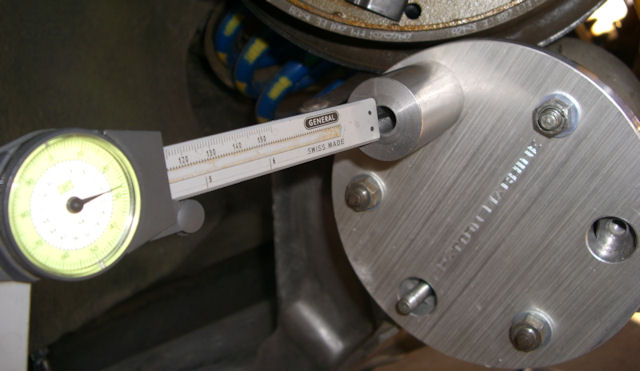
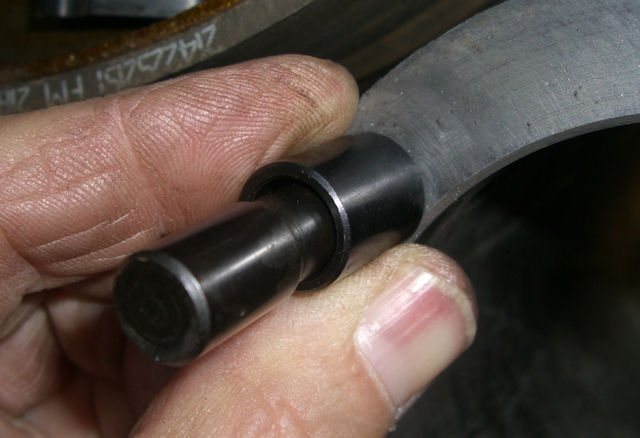
I used my caliper
to measure the depth of the existing hole.
The KeenSerts require
a minimum depth of 1/2". |
 |
|
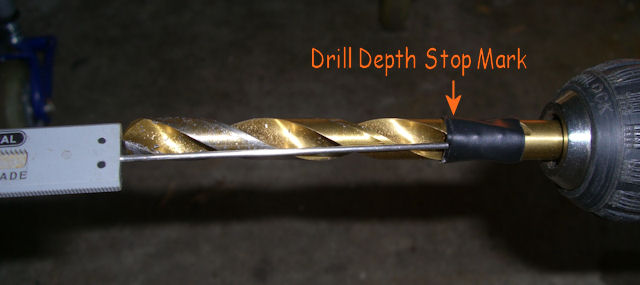
Then transfer the
depth to your drill bit and tape it off |
 |
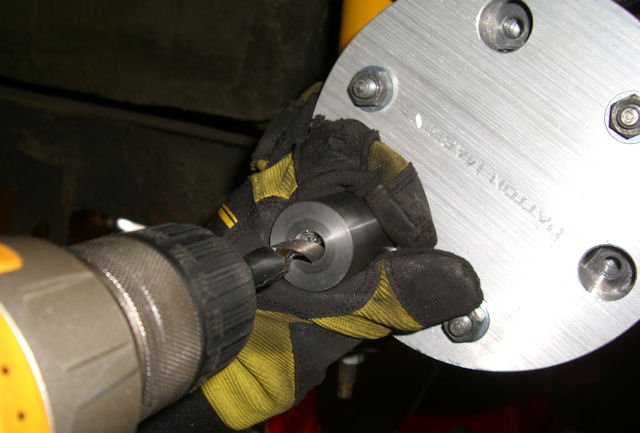
As noted
previously, Rick has machined this jig to very tight
tolerances and I had a little trouble getting my "X"
drill to fit in the alignment insert. I figured that
the drill bit probably had a burr or two on it so I
just grabbed the insert and worked the drill
in...........make sure you're wearing gloves as the
insert will try to twist if the drill binds. Don't
forget the Tap Magic oil for the drilling and
tapping! After you drill the three holes, clean out
all of the chips before tapping. I used a vacuum and
compressed air.......but don't blow any chips into
your eyes!
|
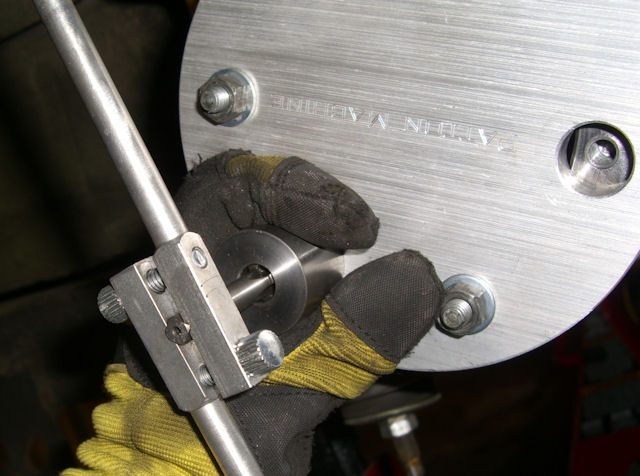
Make sure you
have a good grip on the insertion jig in
case the drill binds |
 |
|
Tapping is easy
when the alignment is perfect. |
 |
|
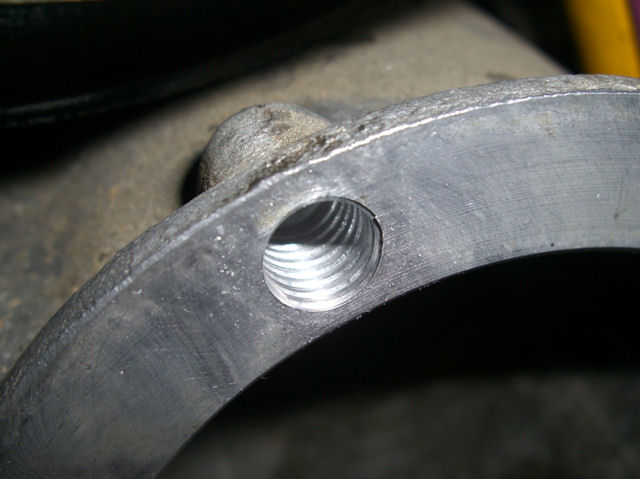
But these are my
nice new threads.... and there is plenty of
TA "meat" to drill & tap. |
 |
All that's left now is
to install the KeenSerts, lock them down and thread
in the studs.
|
Thread them in by
hand. No tools required....yet |
 |
|
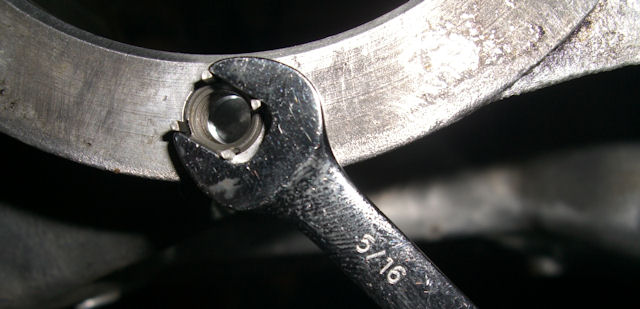
I used a 5/16"
wrench to get them nice and flush with the
TA surface. Don't overdo it! |
 |
|
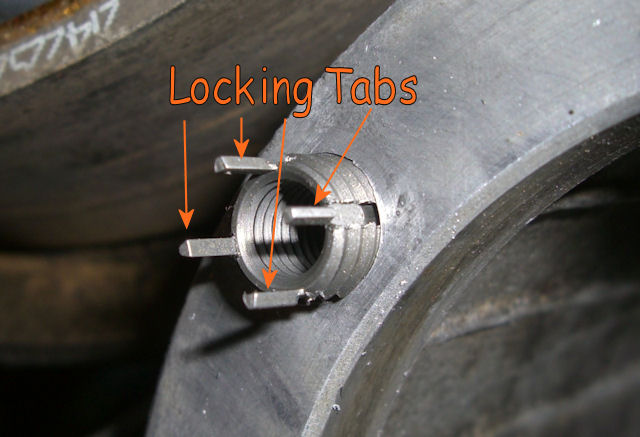
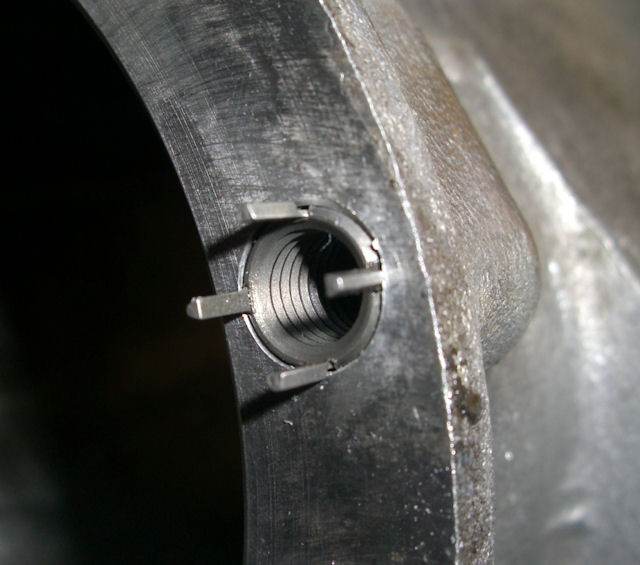
Thread them in
until you hit the locking tabs.
The threads should be pretty flush with the
TA face. |
 |
|
KeenSert Tool
that smacks the locking tabs in place.
A few good hammer whacks does it. You'll
hear it when it's flush. |
 |
|
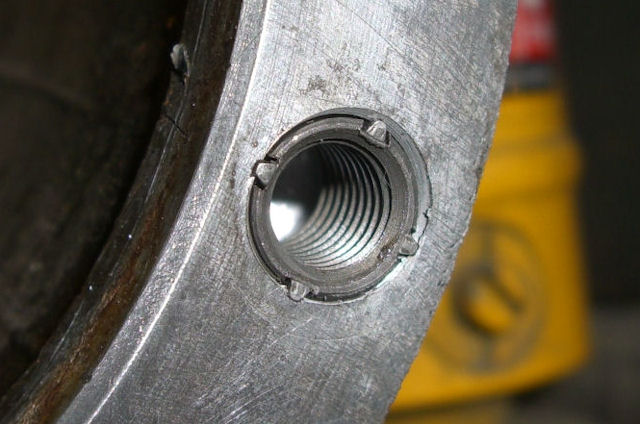
Tabs all locked
down |
 |
Now that
you've done three of them, thread in the studs you
removed before, and back out the three studs that
still need to be done. I kept the studs somewhat
loose but I don't think it really mattered as
there's no free play in the KeenSerts.
When
you're all done, here's what it will look like!
|
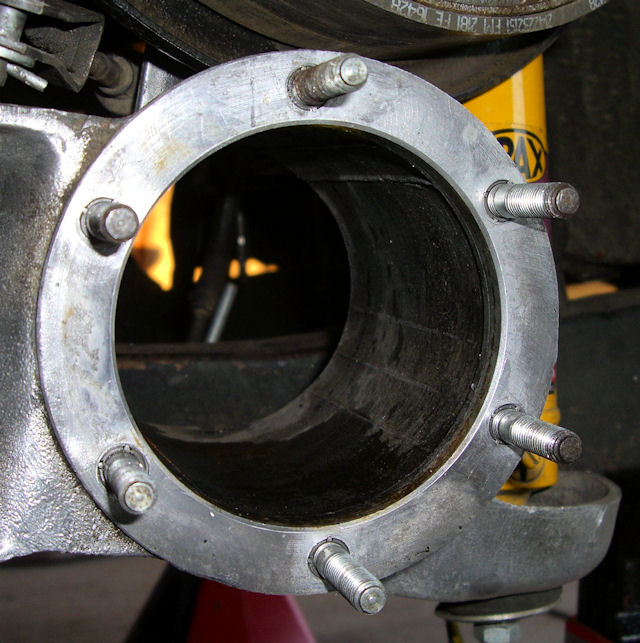
Six studs that
will not strip! |
 |
|
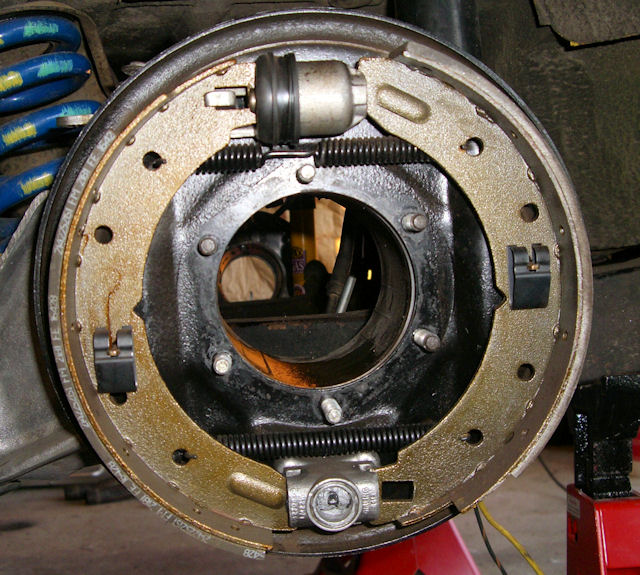
And here's the
brake back on the TA. A perfect fit. |
 |
|
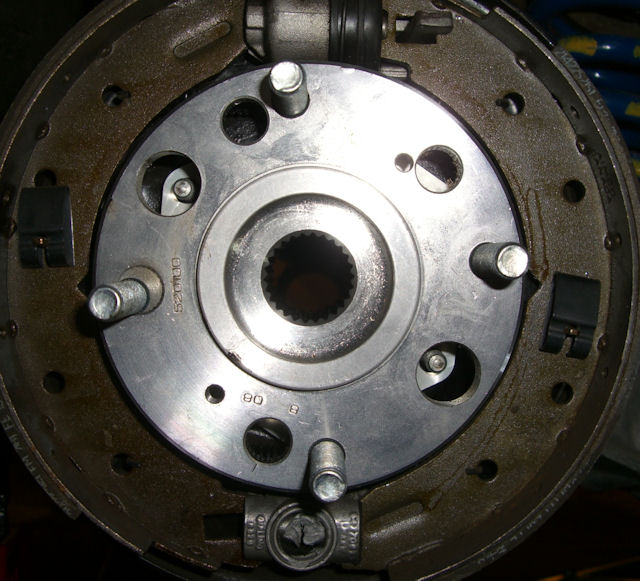
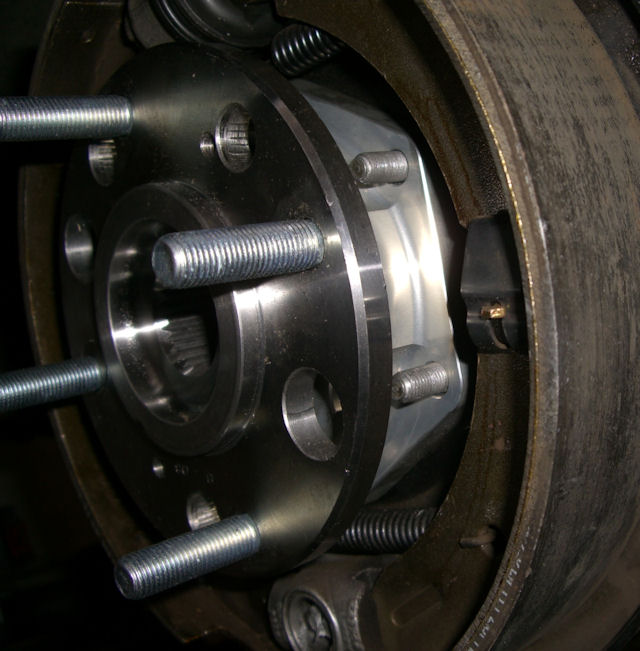
And a test fit of
the new upgraded CVJ hubs |
 |
|
These things are
beefy :-) |
 |
Next Up
is my very unscientific
strip test of Keen-serts.


