|
Working with Leather........ again.
Normally wrapping this in
leather shouldn't be a big deal but I managed to make it
one. First there's the angle of the front piece that
slops back about 35 degrees so the leather wraps at an
angle too. Then I wanted some stitching on the corners
which lead to a matching stitch on the
side..................and on and on. Once again a lot of
time was spent standing there staring at the leather and
the console, scratching my head and wondering how I was
going to do this. It seemed so simple but that angle was
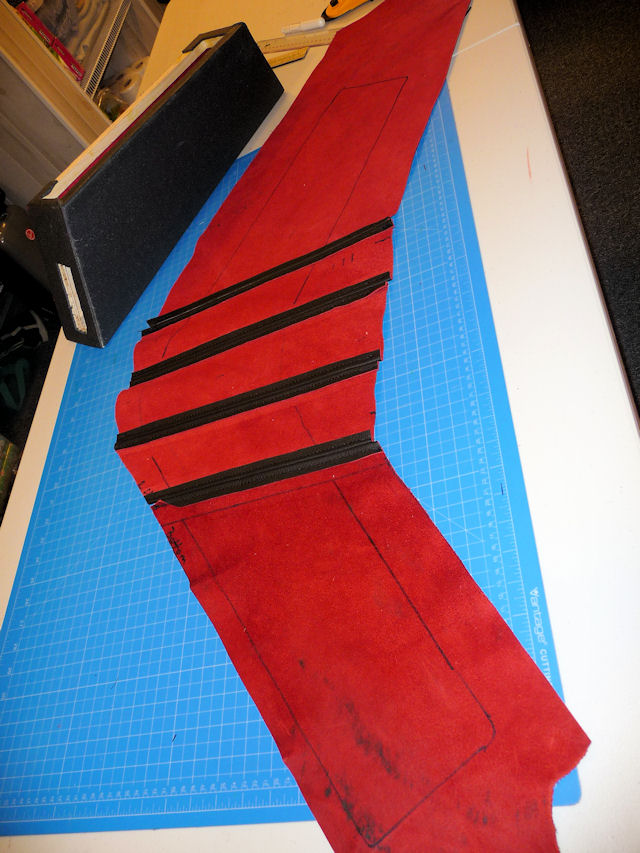
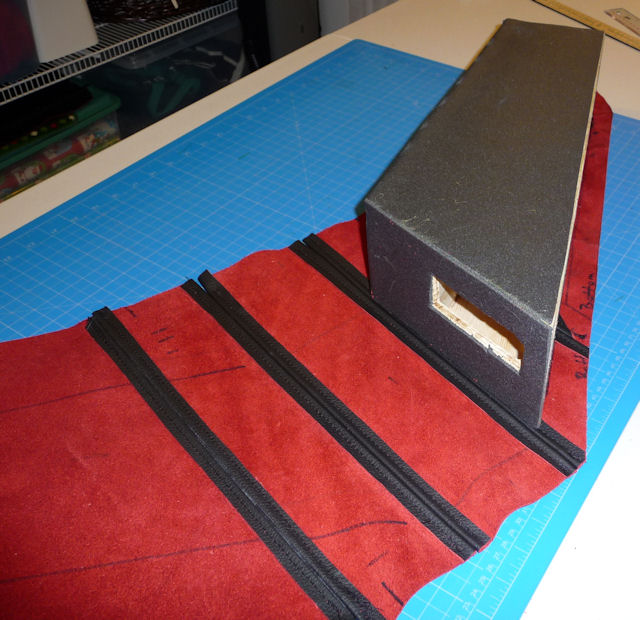
making me crazy. It's a good thing I had a big piece of
leather as I needed to map this out by laying the
console in place and marking out a template by rolling
the console from one side to the front and over on to
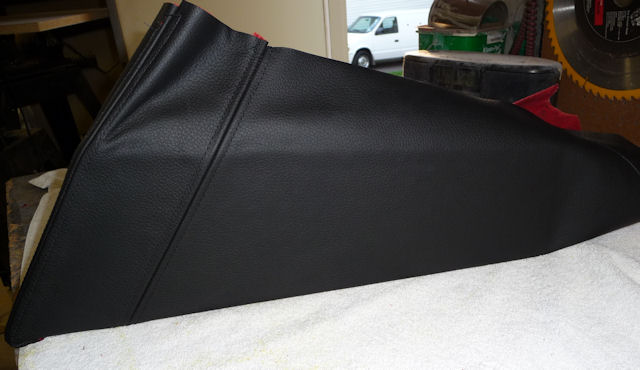
the other side. What I was left with what looked like a
giant kite or a stealth fighter or a flying wing.
Once I
got this sewed up I had to try and figure out how I
was going to keep it all aligned while I glued
everything together. More standing and staring took
place..............
|
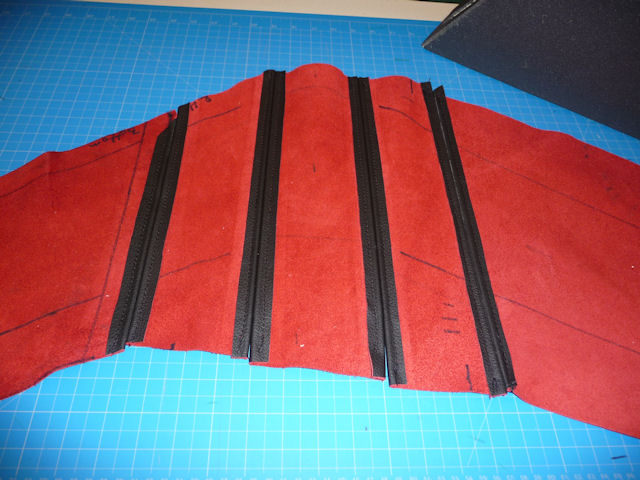
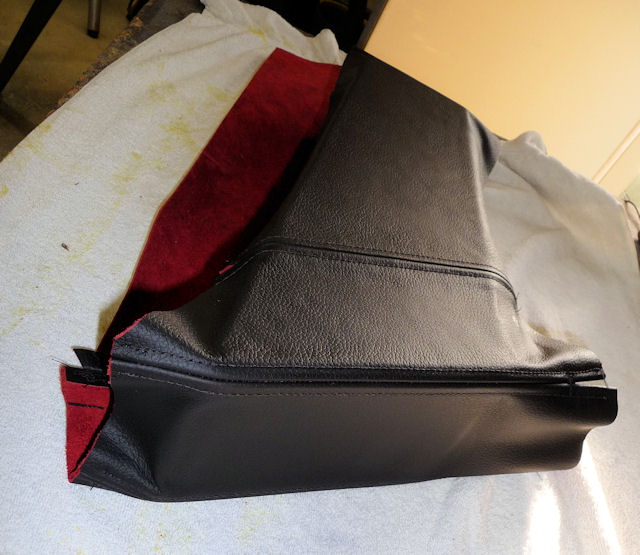
The first thing I did was to lay the console
on the leather exactly lined up with the
stitching. The seam on either side of the
center panel had to match with the edges of
the console or I wasted a lot of time
sewing. |
 |
|
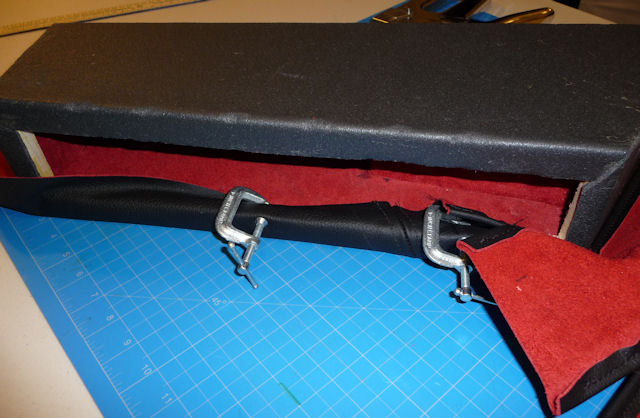
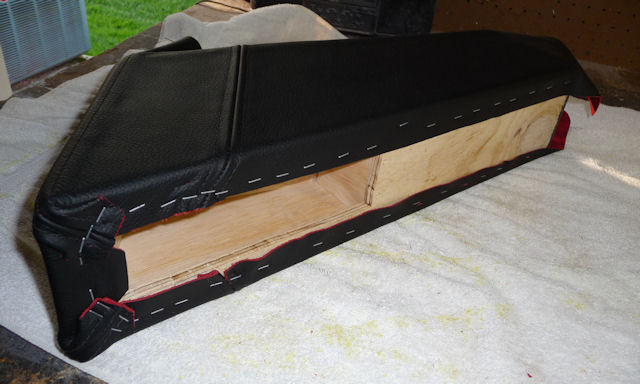
Then I stapled
one edge to the bottom |
 |
|
And clamped the
top edge to the wood trim piece |
 |
|
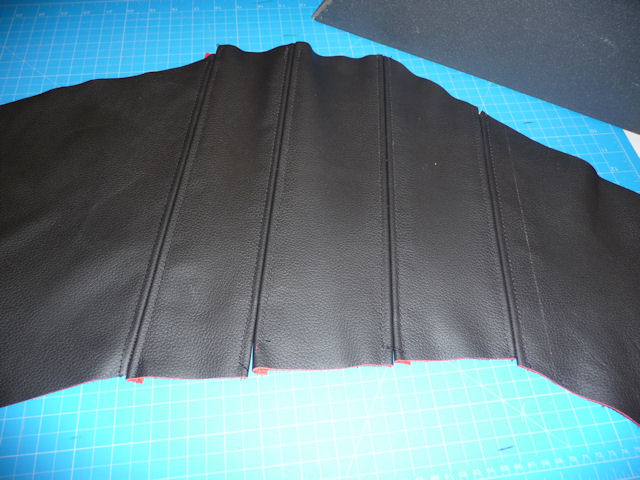
Once I was sure that side was perfectly
lined up I was able to apply glue to the
center panel and the front of the console.
At that point I just rolled onto the glue
covered center panel. |
 |
|
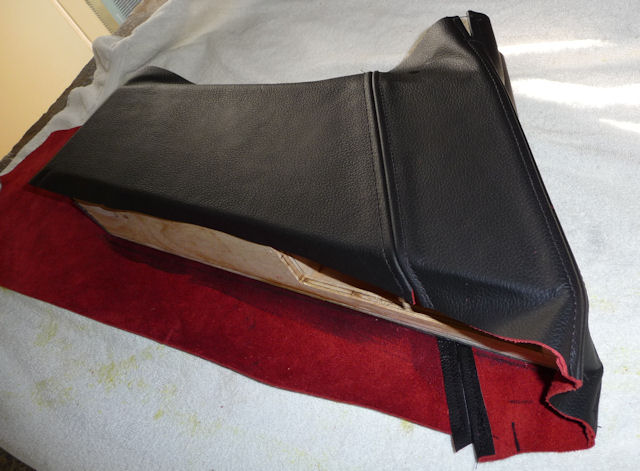
Once that was secure I glued the side that
wasn't stapled and clamped and, lastly,
removed the staples and clamps to do the
third side. |
 |
|
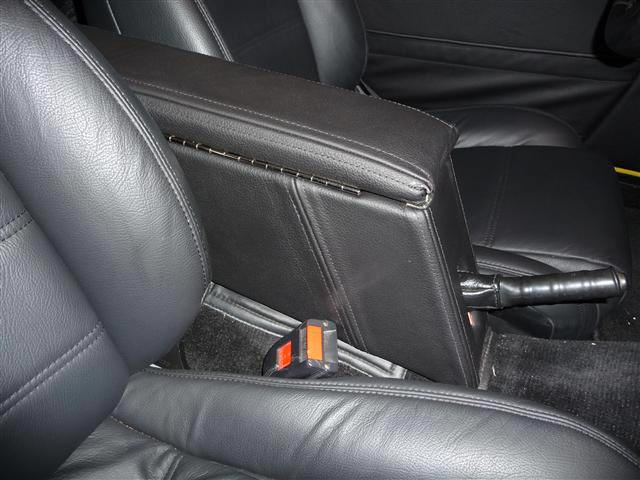
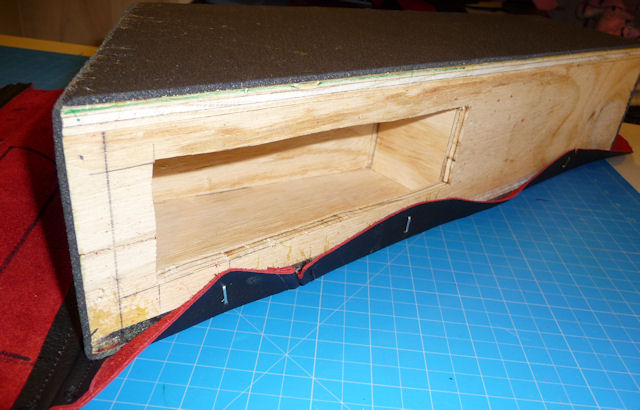
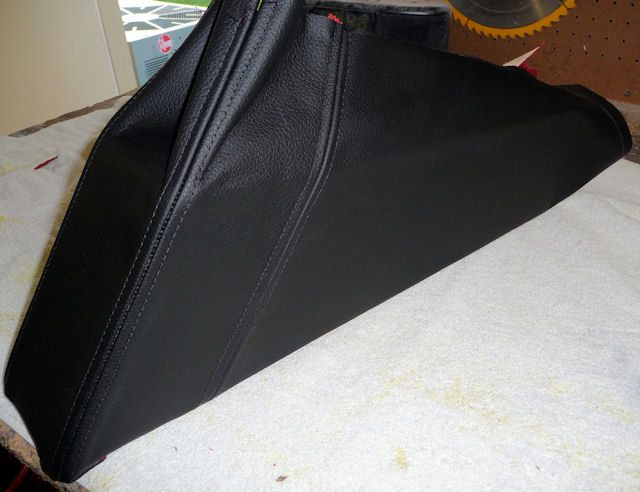
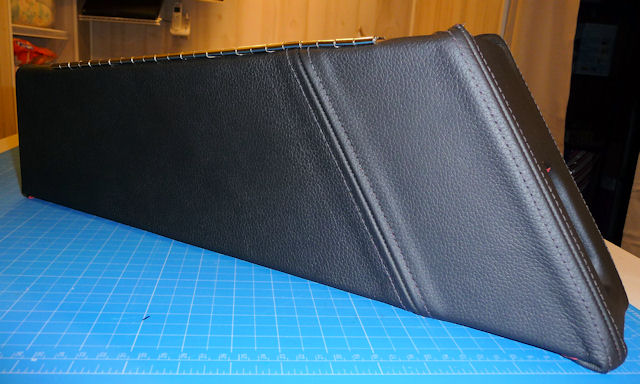
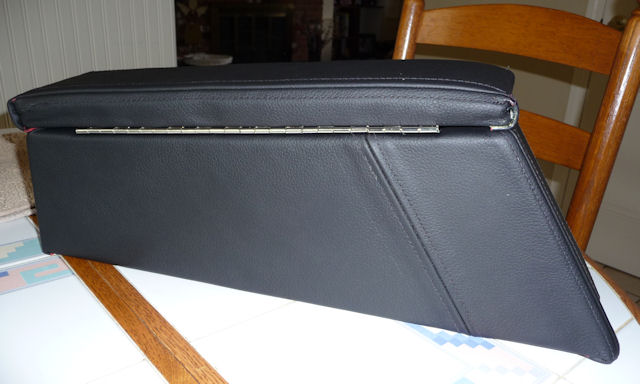
Here's side view showing the stitching and
how the decorative seam follows the angle of
the front. |
 |
|
The corners actually lined up perfectly! Now
all I had to do was trim away the excess,
glue the rear section, fold everything over
the bottom and the top and make the corners
neat. Yea right..............more standing
and staring.......... |
 |
What I've
done so far is pretty easy..........all it really
required was the ability to sew in a straight line
and glue stuff together so everything lined up. The
tricky part for me is figuring out how to make the
corners look neat. This is where a real upholsterer
earns his money. The fit was mostly done by trial
and error and if you tackle this project you'll see
what I mean. The sides were easy as I just glued
them to the trim pieces and rolled the all the way
around so that the edges are under the trim piece.
Glue holds it all in place. Beyond that you're on
your own as I have no idea if I did it the best way
possible and don't want to lead you down the wrong
path. I'm OK with how it came out but I'm not
thrilled with the corners. I know there's a better
way........I just don't know what it is.
|
The bottom was
pretty easy as it mostly involved using
staples. |
 |
|
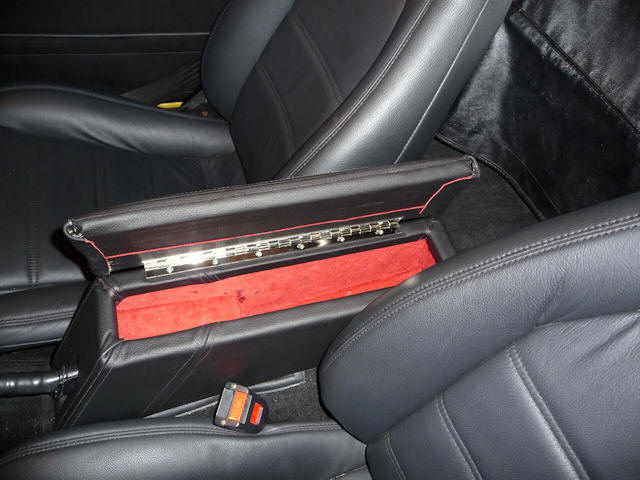
And then like
magic it was done! |
 |
|
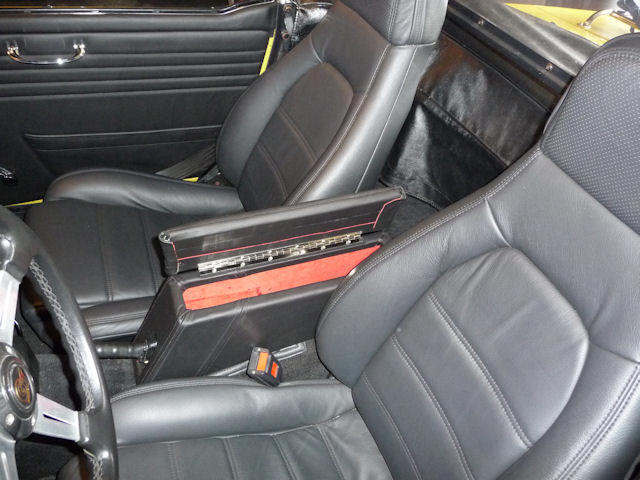
And more
magic............the top has appeared and is
attached to the hinge! |
 |
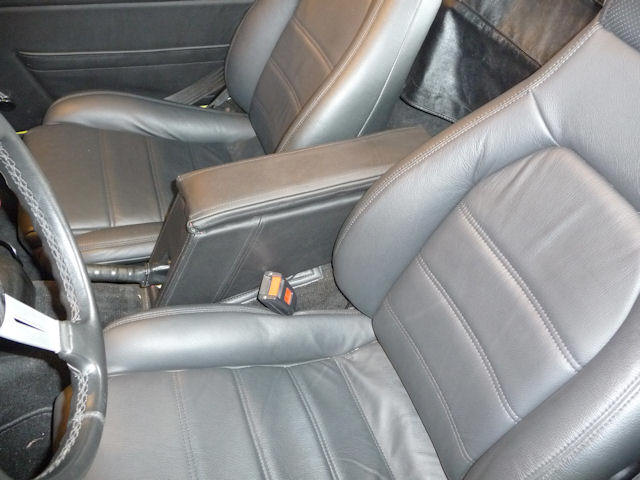
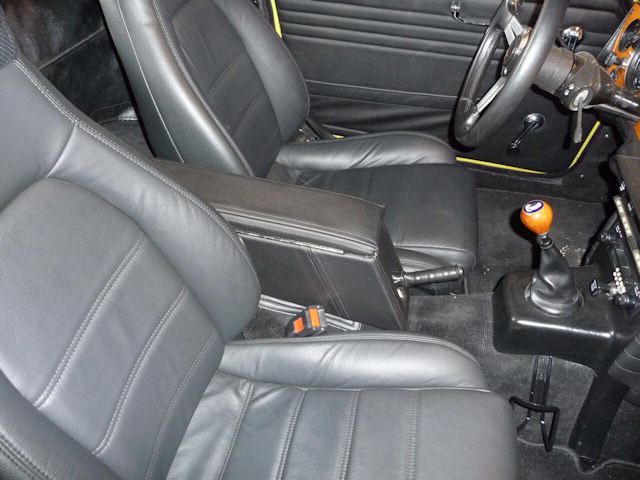
All that's left now is
to put it in the car take a test drive..........
The
Console needs a skirt.................
|