As they are known to do
without any warning, my brake light switch seemed to
stop working the other day. I tried the standard
adjustment method of bending the tab it mounts into with
no results. Then I jiggled the plunger in the switch and
the lights came on....... and off again. Jiggle it
on..........watch it shut off. So I drove down to my
local NAPA to pick up the all metal mid 80's Honda
replacement switch by Echlin # SL-310. But they didn't
have any and the distribution center was also out of
them. They did order one for me but in the meantime I
decided to take mine apart,
same as I
did for my headlight switch last year, and see if I
could fix it. And it was a pretty easy fix! I don't know
how long it will last but it saved me $25 for the NAPA
switch for the time being.
Note: The repair lasted
for a year or two and then I ordered two alternative
switches which can be seen at the link in the left
column.
Give it a try.....what do
you have to lose?!
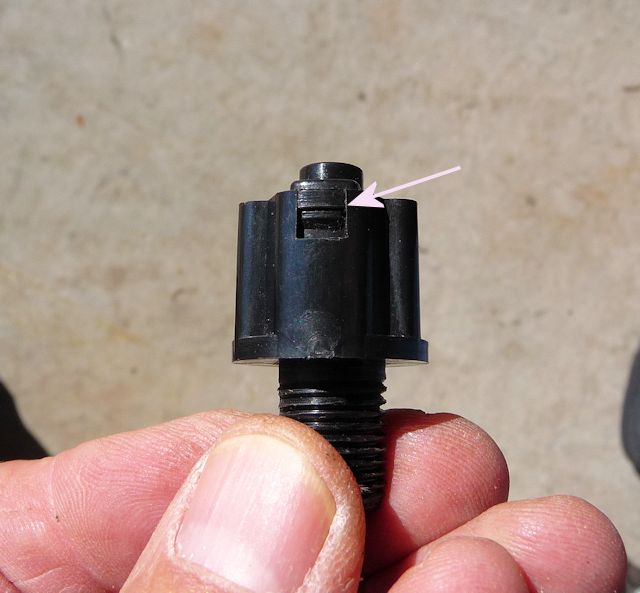
To
separate the switch you need to push these two
tabs in..... one is on the other side..
I
used a very small flat blade screw driver.
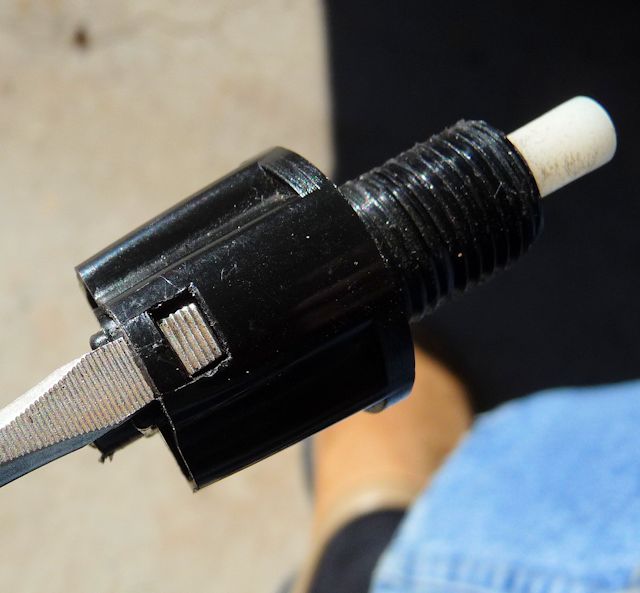
Here
it is almost all apart
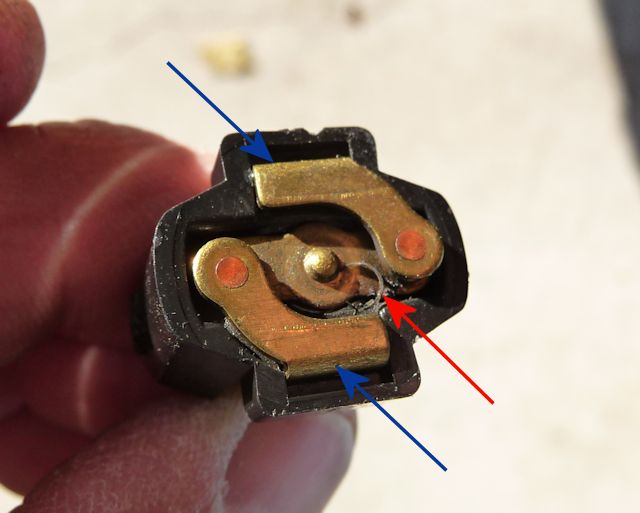
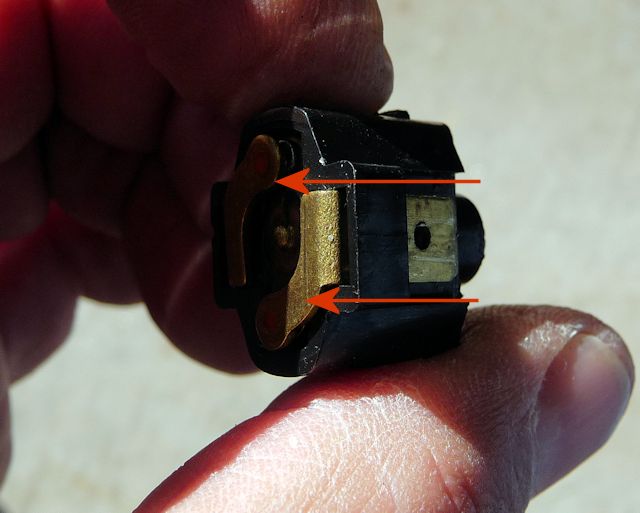
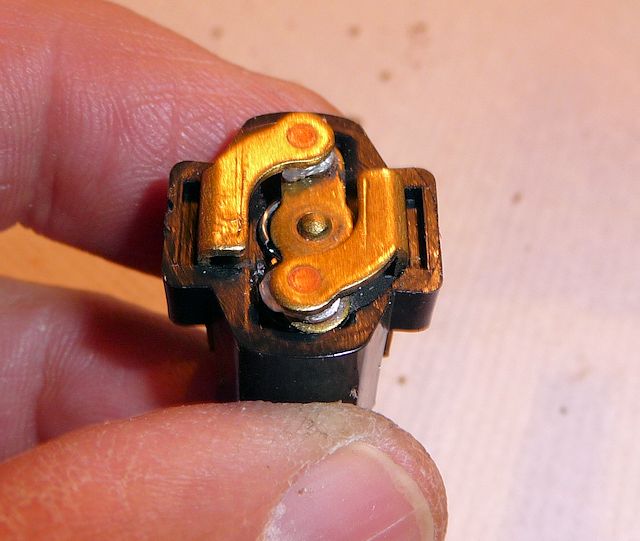
Once
separated, I noticed a little broken piece of
spring (red arrow). The blue arrow points to the
internal part of the tabs that the brake & reverse
lights attach to.
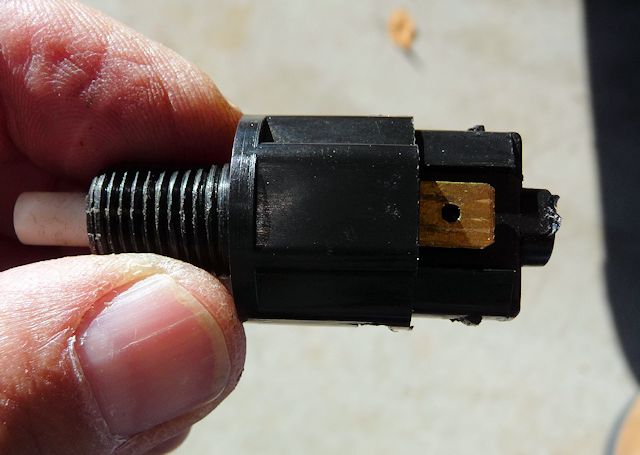
The
connector tabs just slide out
This
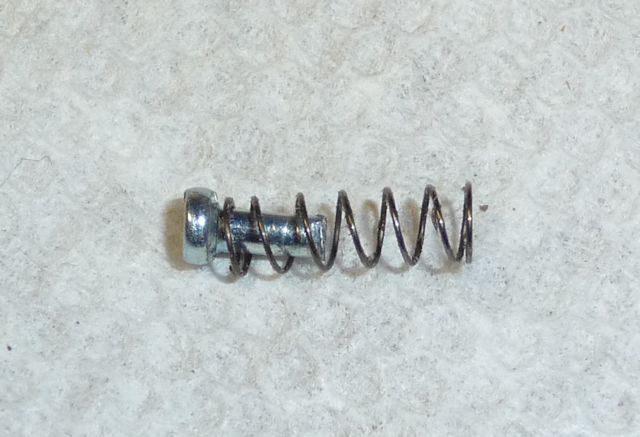
is the plunger half.
Be VERY
careful that you don't lose this tiny spring. Part
of it had broken off in the other half of the
switch and I wanted to find a replacement spring.
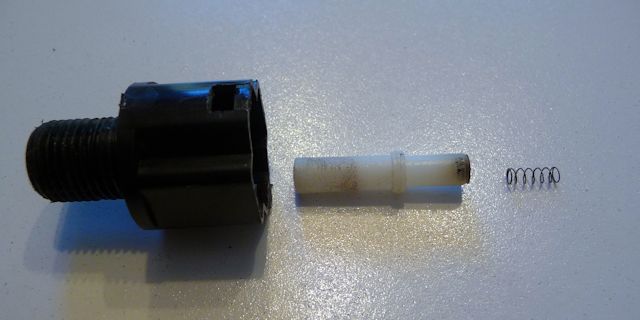
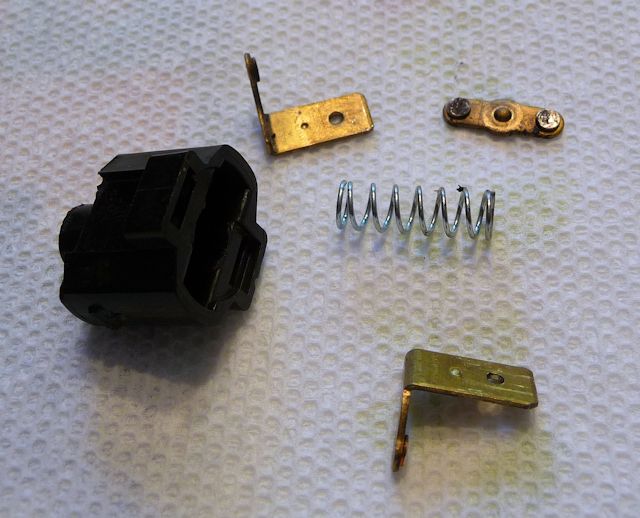
Exploded view looks like this.....
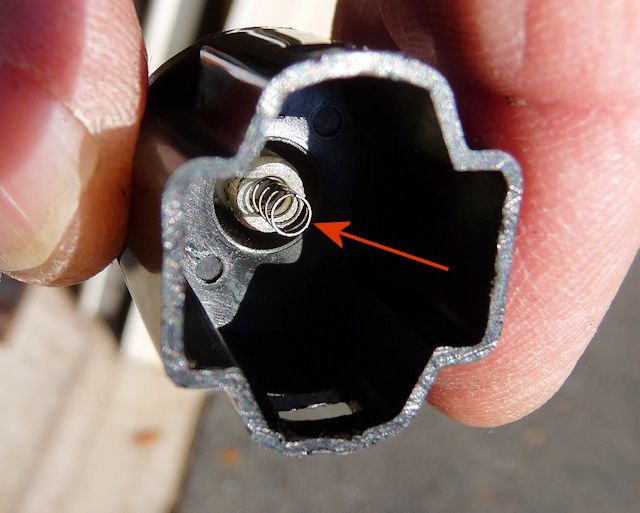
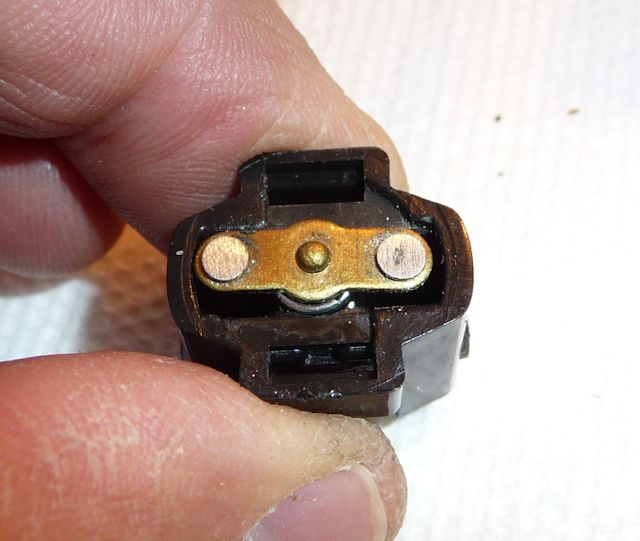
Back to
the other half and once you remove the blade
connectors and the contact piece you'll find
another spring.
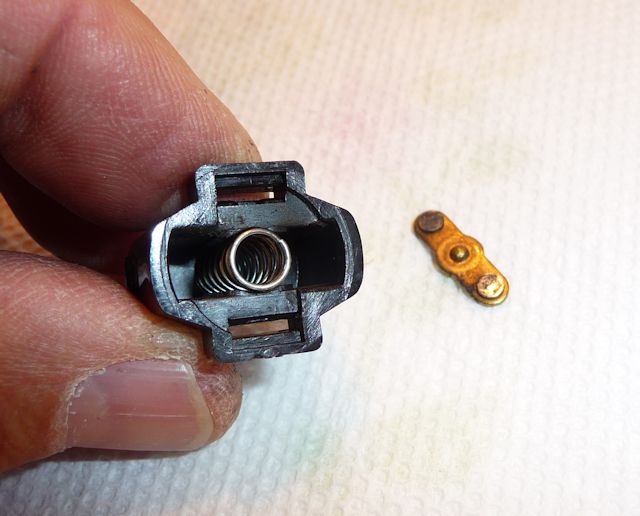
All
the pierces to the connection half...
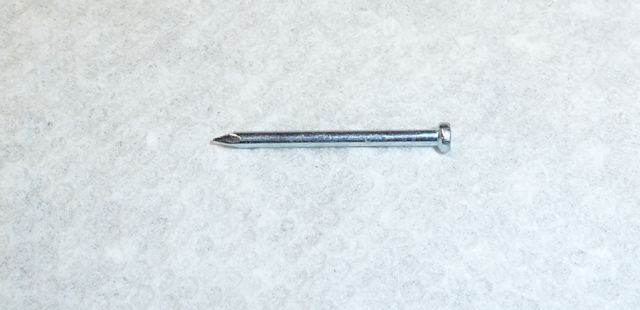
A
small brad/nail
I
couldn't find a spring that small so I decided to
"lengthen" the spring by adding a spacer into the
set up. I found a brad/nail with a head that fits
into the plunger which I cut off flush with the
end of the plunger.
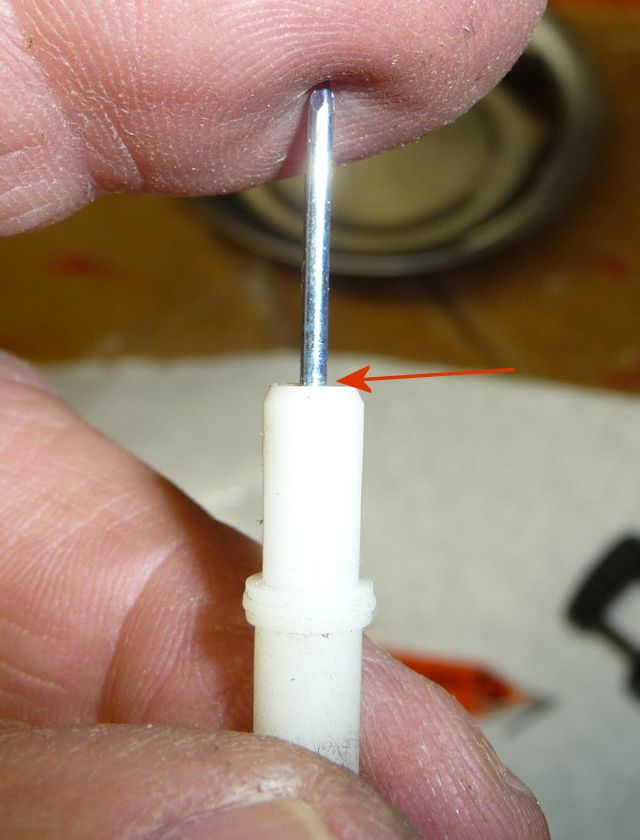
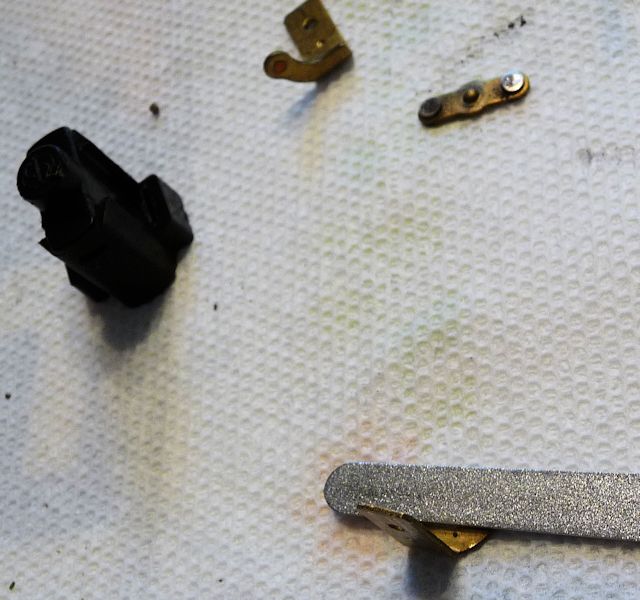
So
it ended up looking like this...........
Then
I cleaned up the contacts using my wife's nail
file! Don't tell her.......
All
nice and shiny now........
Put
back togehter........
And
I added some dielectric grease to the
contacts.......
And
here's how you adjust the switch.......... Make
sure the plunger and the brake pedal arm line up
(red arrows). If they don't, you can slide the
switch left and right (green arrow). Then you bend
the tab (yellow arrow) until the switch turns on
and off when you push and release the brake pedal.
That's all there is to "fixing" your brake light
switch.