One of the most trying things to do on a Triumph is
replace the steering column
bushings....................unless you have
Art Lipp's Delrin bushings.
This $25.00 bushing set can be replaced without removing
your steering column AND without removing the old
bushings. Sounds too good to be true.....read on!
The first
step is to remove your steering wheel which can be different
dependent upon your steering wheel. I have an aftermarket wheel
with an adapter so my removal method may be different from
yours. Once you have your steering wheel off, you need to pop
off the Horn Slip Ring. I had a problem because I didn't have
enough horn wire to get the ring over the shaft. I ended up
cutting the wire under the dash and running new wire. If you're
lucky, you'll either have plenty of slack wire or easy access to
the bullet connector under the dash.
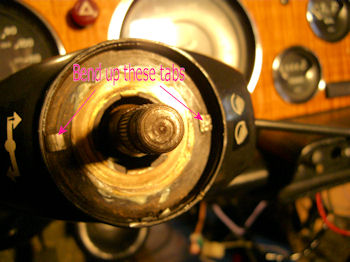
Carefully bend up the two tabs holding the ring
Then you can remove the slip ring
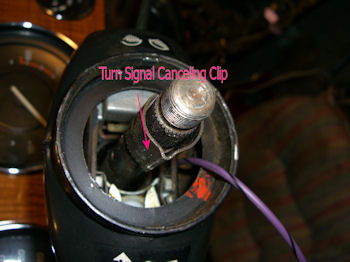
The turn signal canceling clip needs to be pried
loose and slipped off
Once
you get to this point head to the bottom end of the shaft
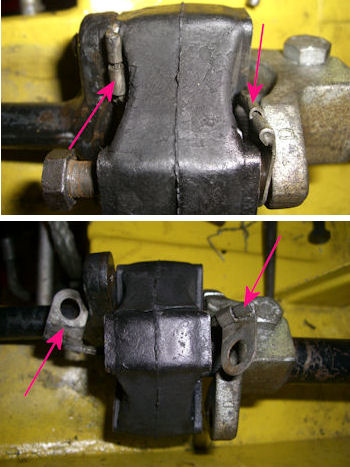
and disconnect everything there. Art had warned me that the
rubber coupling will probably be cracked from age and
use......and he was right.
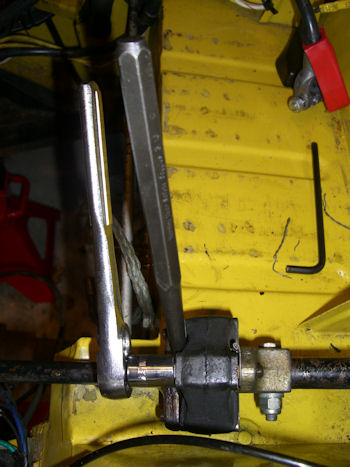
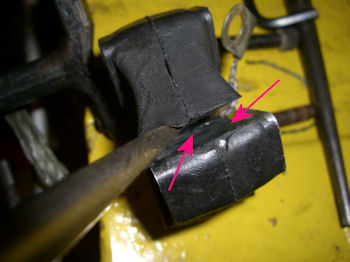
Unbolting a rotating shaft can be fun!
The arrows point to the ground strap
As expected.........a cracked rubber coupling
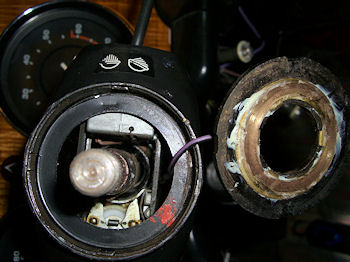
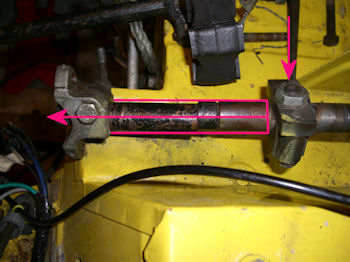
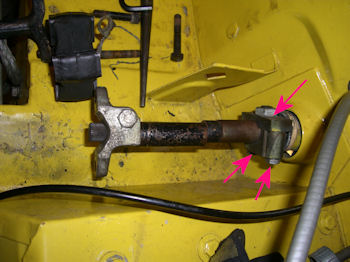
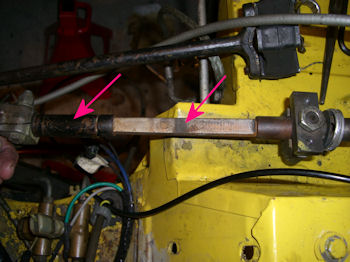
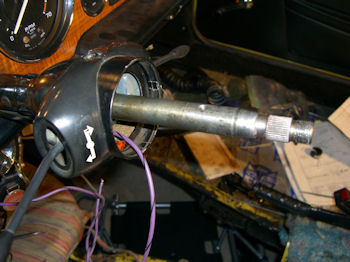
Now you need to remove the outer shaft
Loosen these two bolts and one nut
Now you can slide the inner shaft right out
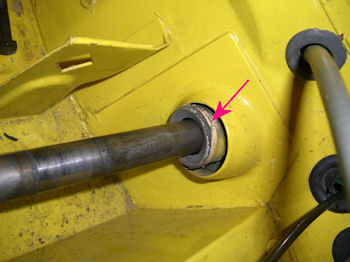
You can pop the cover piece off with a screw driver
unless it's painted in place like mine was
My
understanding is that early TR6's without locking steering
columns will let you slide the whole inner column out at
this point. On the later models, like mine, the shaft can't
be removed but you'll be able to get to a lot of the shaft
at both ends to clean it up.
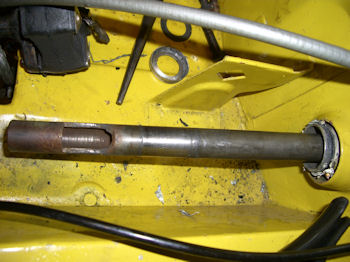
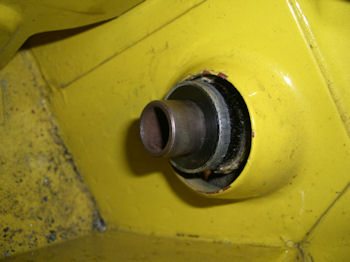
Bottom of shaft ready for cleaning
Top end of shaft all clean
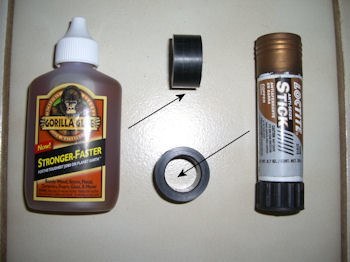
Now that
the hard part is done, the bushing installation is real
easy. You'll just need some Gorilla glue and some
anti-seize. Read the Gorilla glue instructions......they
want you to wet the surface with water before applying the
glue.
Glue on the outside and anti-seize on the inside
So
basically spread a little glue on the outside of the bushing
and some anti-seize on the inside. Then you just tap them in
place. Art supplies a custom wood dowel for driving the
bushing home and it works great on the bottom end but I had
to improvise on the top.
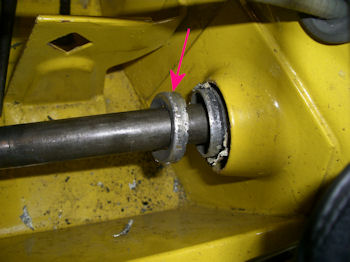
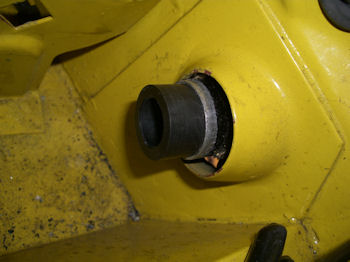
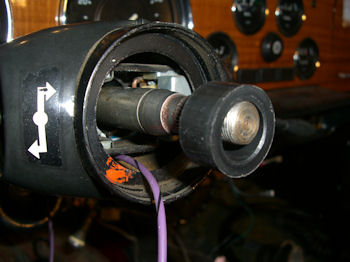
A
tight but perfect fit....just tap it in with Art's
wood dowel
Here it is peeking out!
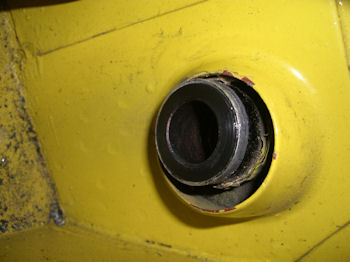
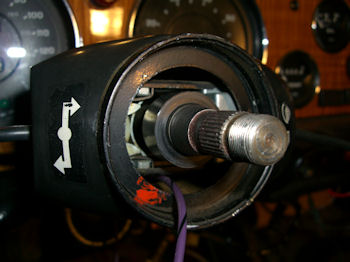
Top one ready to go on
Another tight but perfect fit
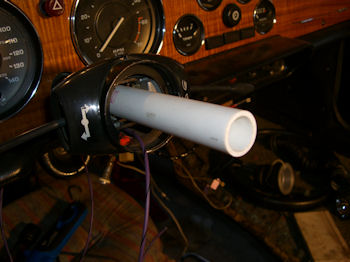
3/4" PVC pipe is perfect for driving it home
Everything is so much tighter now with absolutely no
vertical or horizontal movement. And it only cost $25.00 and
a couple of hours of your time. Once the glue has set
overnight, I'll put it back together......except I have to
order a new rubber coupling!
I had
been warned that lining up the bolt holes in the rubber
coupling was a challenge that will try your patience. I was
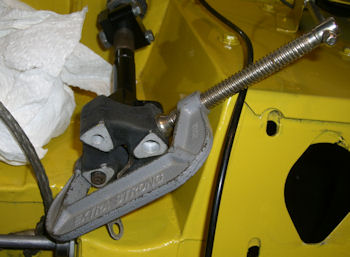
also given a couple of tips: one was to use a C-Clamp to
compress the rubber and the other was to use a hose clamp to
compress the rubber. See the pattern here? You need to
compress the rubber to line everything up. It's designed
that way on purpose.....something about steering response
after the coupling has been compressed on to the column.
Bolt #1
went in easily...duh.... nothing to mess up the alignment
yet. But the second bolt hole was about 1/4" out of line, so
I used a 4" C-Clamp to compress and line it up. So far it
was easy. The 3rd bolt is also easy but the 4th one was a
bear to do. The C-Clamp wanted to walk on the rubber as it
compressed and then it compressed the rubber on an angle.
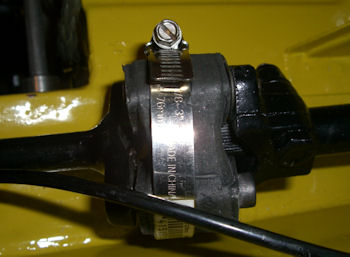
Fellow TBI powered TR6 owner Aaron Cropley (http://www.triumphowners.com/108)
had previously suggested using a hose clamp as the
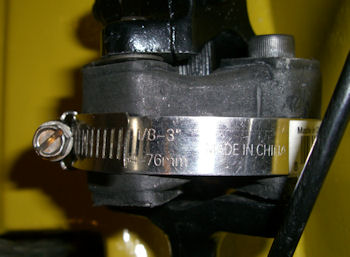
compression device. So a quick trip to Lowes and 95 cents
later I had a 2-1/8 to 3" hose clamp that worked perfectly.
The C-Clamp worked
great on the 2nd bolt
The 4th bolt was way
out of line
This hose clamp lined
everything up perfectly
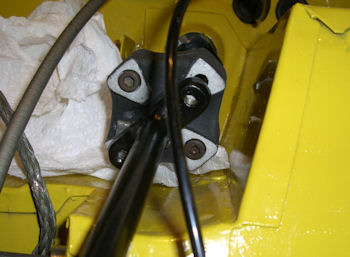
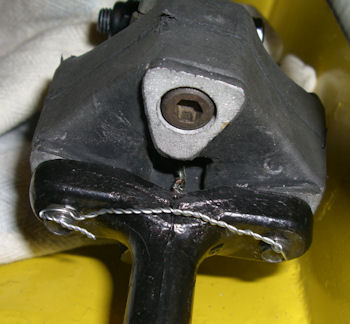
Don't forget the
ground strap for the horn.
Bolts finished with
safety wire
This was
actually pretty easy to do with Art's Delrin bushings and
Aaron's hose clamp suggestion. Once you have all the parts
it shouldn't take longer then a few hours............unless
of course those Triumph Gods conspire to have pieces frozen
in place