|
Hood/Bonnet
Installation - but I'm calling it the hood!
Putting the hood back on and
getting it all aligned can be a big problem unless you follow
these easy steps. And even then it can be a challenge. The first
thing you'll need to do is remove the grill so that you'll have
access from the grill opening. Then remove the latch from the
hood so there's no danger of it inadvertently locking. Once
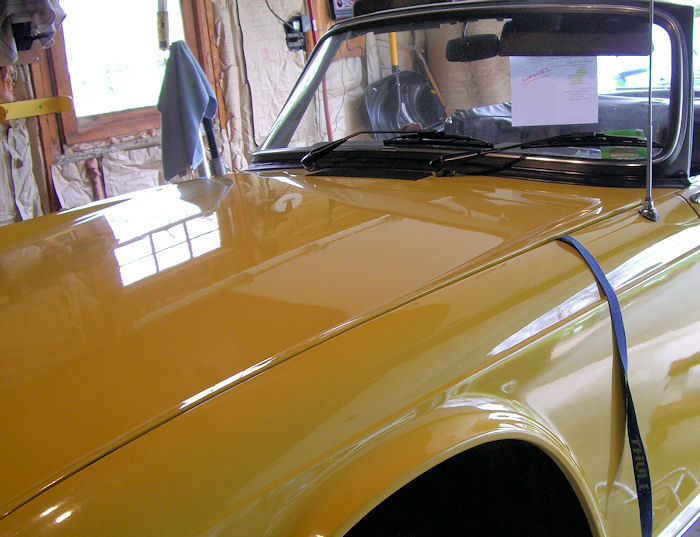
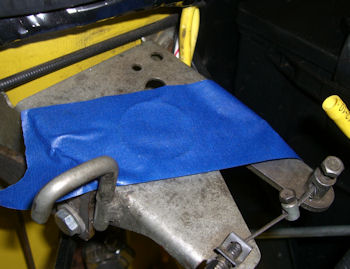
that's done, lay a flat strap across the across the engine bay.
|
The
strap will make it easy to lift the hood if needed. |
 |
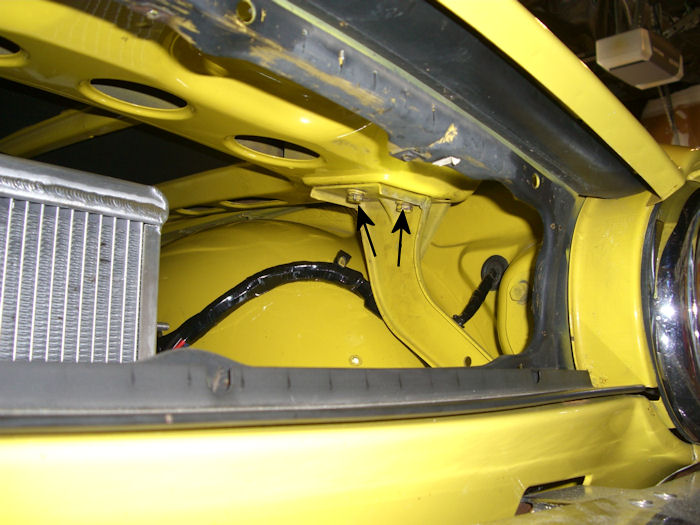
| With
the grill removed, you'll have easy access to the 6
bolts holding the hood in place. |
 |
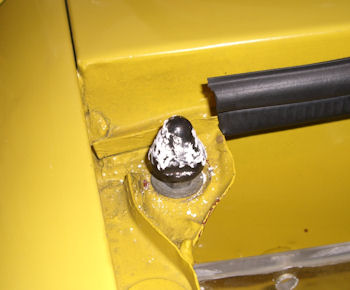
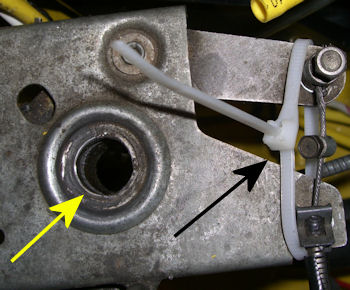
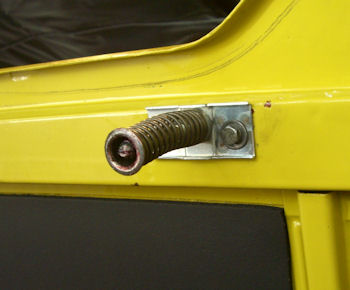
Next you need to loosen the two
rubber hood locating pins. My first attempt was to mark them up
with chalk and see where the chalk transferred on the hood side.
Then move the pin and try again. Bottom line.....just loosen
them up and they'll center on the hood bump and then move as you
position the hood's alignment.
|
Seemed like a good idea
but it's easier to just loosen them up so they'll
self align. |
 |
 |
So now you've got the hood resting
on the car, with no hinge bolts installed and the rubber locating pins all
nice and loose. It's very easy to slide the hood side to side
and back and forth to get the gaps as even as possible. Once you
have it looking good, install and tighten the 6 hinge bolts by reaching
through the grill opening. NOTE: there's 8 hood bolts and the 6
long ones go in from under the hood while the 2 short ones go
into the side of the hood. Once the 6 under the hood are tight,
raise the hood and install the 2 short side bolts. Leave the
rubber bumpers loose for now. They'll be the last thing you
tighten. Raise and lower the hood a few times and if you're
happy with the fit, it's time to work on the latch. Install the
hood latch as close to any old markings you can find.
|
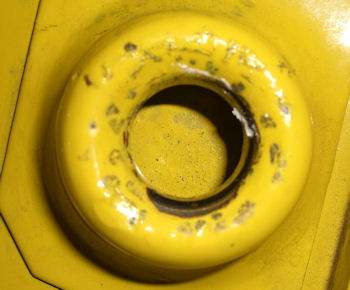
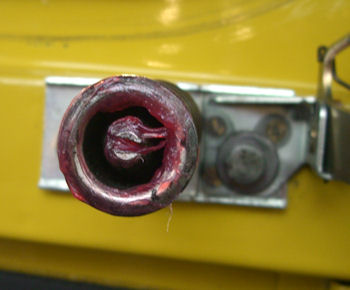
Put some tape over the
catch and smear some grease on the latch. |
 |
 |
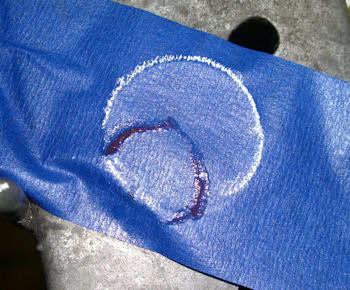
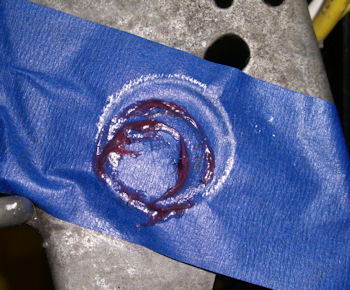
| Lower
gently & note where it hits & adjust |
2nd
time got it close to the center |
 |
 |
At this point I was pretty close
to hitting the catch dead center so I removed the tape, locked
the catch open, removed the safety catch from the latch. I
didn't want there to be any chance of it locking off center. I
also loosened the latch just enough that it would self-center on
the catch assembly as I closed the hood.
| A wire
tie keeps the catch wide open |
Safety
catch removed and assembly loose |
 |
 |
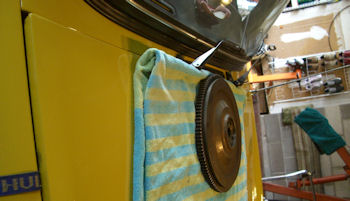
At this point it was just a matter
of lowering the hood and pressing the latch all the way into the
catch. I wanted some weight on the hood to compress the spring
while I checked the gap all around the hood and found this nifty
35 pound weight. One thing I did find was that when I pushed the
latch into the catch the hood moved forward about 1/4" i.e. the
hood moved forward passed the fenders. This drove me nuts as I
knew everything on the hinge side was nice and tight. I finally
decided to move on and see if it would change once it was
properly locked down.
|
Yup....that's the flywheel holding it down |
Almost
finished |
 |
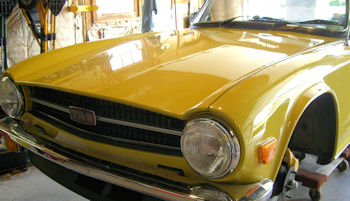 |
The only thing left to do was to
cut that wire tie and see if it really worked......well the
important thing is that it really releases! So I tightened the
latch bolts, cut the wire tie and locked it down. When I checked
the fit at the front, the hood and fenders lined up perfectly so
my previous concern was no longer a concern at all. Then I held my
breath as I pulled on my hood release control and breathed a
sigh of relief as it popped open! Once that was done, I
tightened up the rubber hood locating pins and I was finished.
The alignment all the way around the hood is excellent but I
still have the issue of the rear corners of the hood being
higher then the fenders. It's been that way for at least 10
years and I don't have the guts to try and "spring" it to add a
bit more curve to the hood. |


